WARNING: The following contains graphic pictures of exposed duct work that may not be suitable for those who are sensitive to interior design or practice feng shui. This project also comes with the potential for a low spousal approval rating. Check with your significant other before proceeding.
Scorching temperatures, often over 100°F, have been reported across much of the US this summer. These unusually hot weather conditions have caught most of the country by surprise.

For those of us in Texas, though, it’s business as usual. Summertime temperatures above the century mark, sometimes for a week or more, are common all over the state from June to August.
If you’ve never experienced a Texas summer, it’s hard to imagine what it’s like living with that kind of heat on a daily basis. But General Philip Sheridan, who was a career Army officer and a Union general in the Civil War, summed it up pretty well when he said, “If I owned Texas and Hell, I’d rent out Texas and live in Hell.”
SWEATIN’ TO THE OLDIES
If you’re a voiceover talent, you may have heard (or know from experience) that an isolation booth can quickly turn into a little sweat box, especially in the summer. The computer fan and dryer hose that typically come with a booth just can’t keep up with torrid summertime heat. I’ve heard both male and female voice actors tell of recording in only their underwear because their booth was so hot.
Even if the booth starts out at a moderate temperature, after you’re in there for 20 or 30 minutes, your body heat alone will cause the temperature to rise significantly. And if all you’re doing is pulling room-temperature air into a heavily insulated booth in the summertime, it’s a losing battle. Your body heat can’t get out fast enough, and the isolation booth turns into a padded dry sauna.
One hot summer day, I was sitting at the desk outside my VocalBooth® while the air conditioner was blowing cold air onto my balding head. The cold air must have kicked my brain cells into action, because it got me to thinking…..
WHAT IF….?
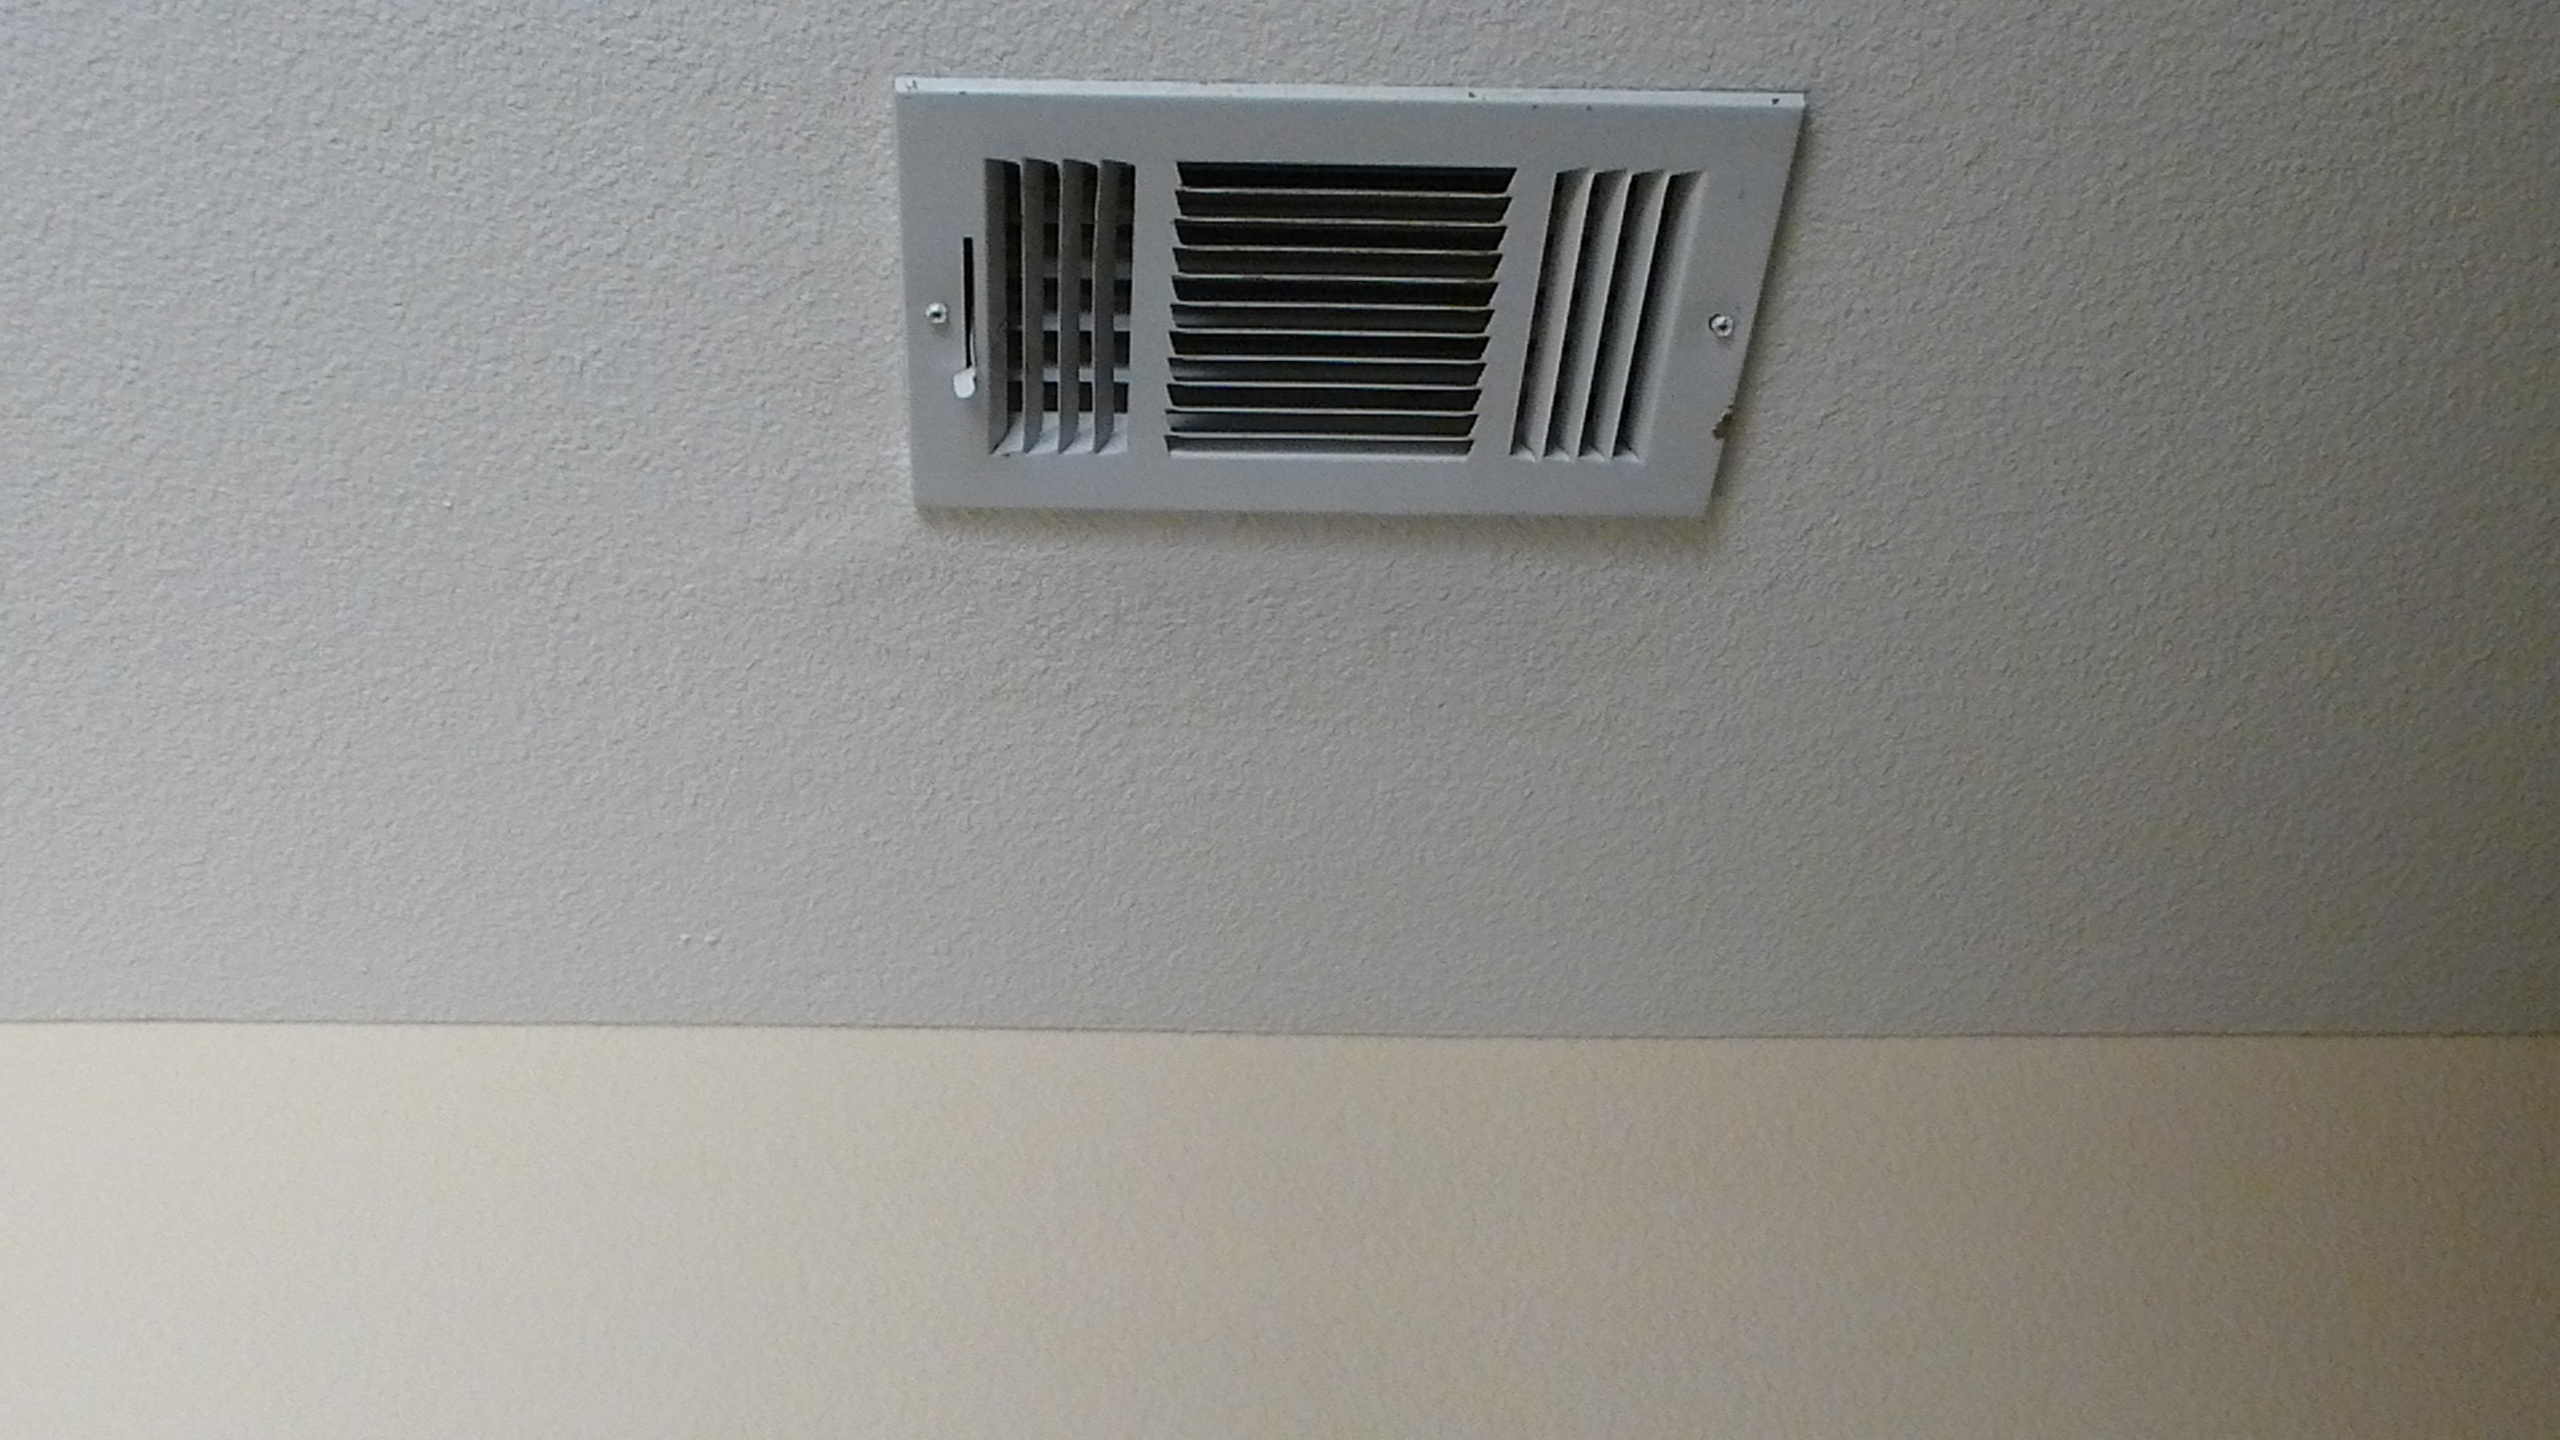
What if I could find a way to get some of that 60°F air out of the vent in the ceiling……..
…….and route it to the ventilation duct in my booth?
Would that cool off my booth? Would it bring an end to soaked arm pits, sweat-stained scripts, and repeatedly opening the door of the booth to try to cool off?
There was only one way to find out.
Build something (I didn’t know what just yet,) and see if it worked.
LEFTOVERS ARE A WONDERFUL THING
About 3 years ago, in what turned out to be a futile attempt to cool the booth by getting more air into it, I enlarged the ventilation hole from 4 inches to 6 inches, and pushed room air into the booth through a Panasonic FV-15VQ5 WhisperCeiling 150 CFM Exhaust Bath Fan that I’d bought to replace the ineffective computer fan.*
The booth was connected to the fan with Quietflex duct.
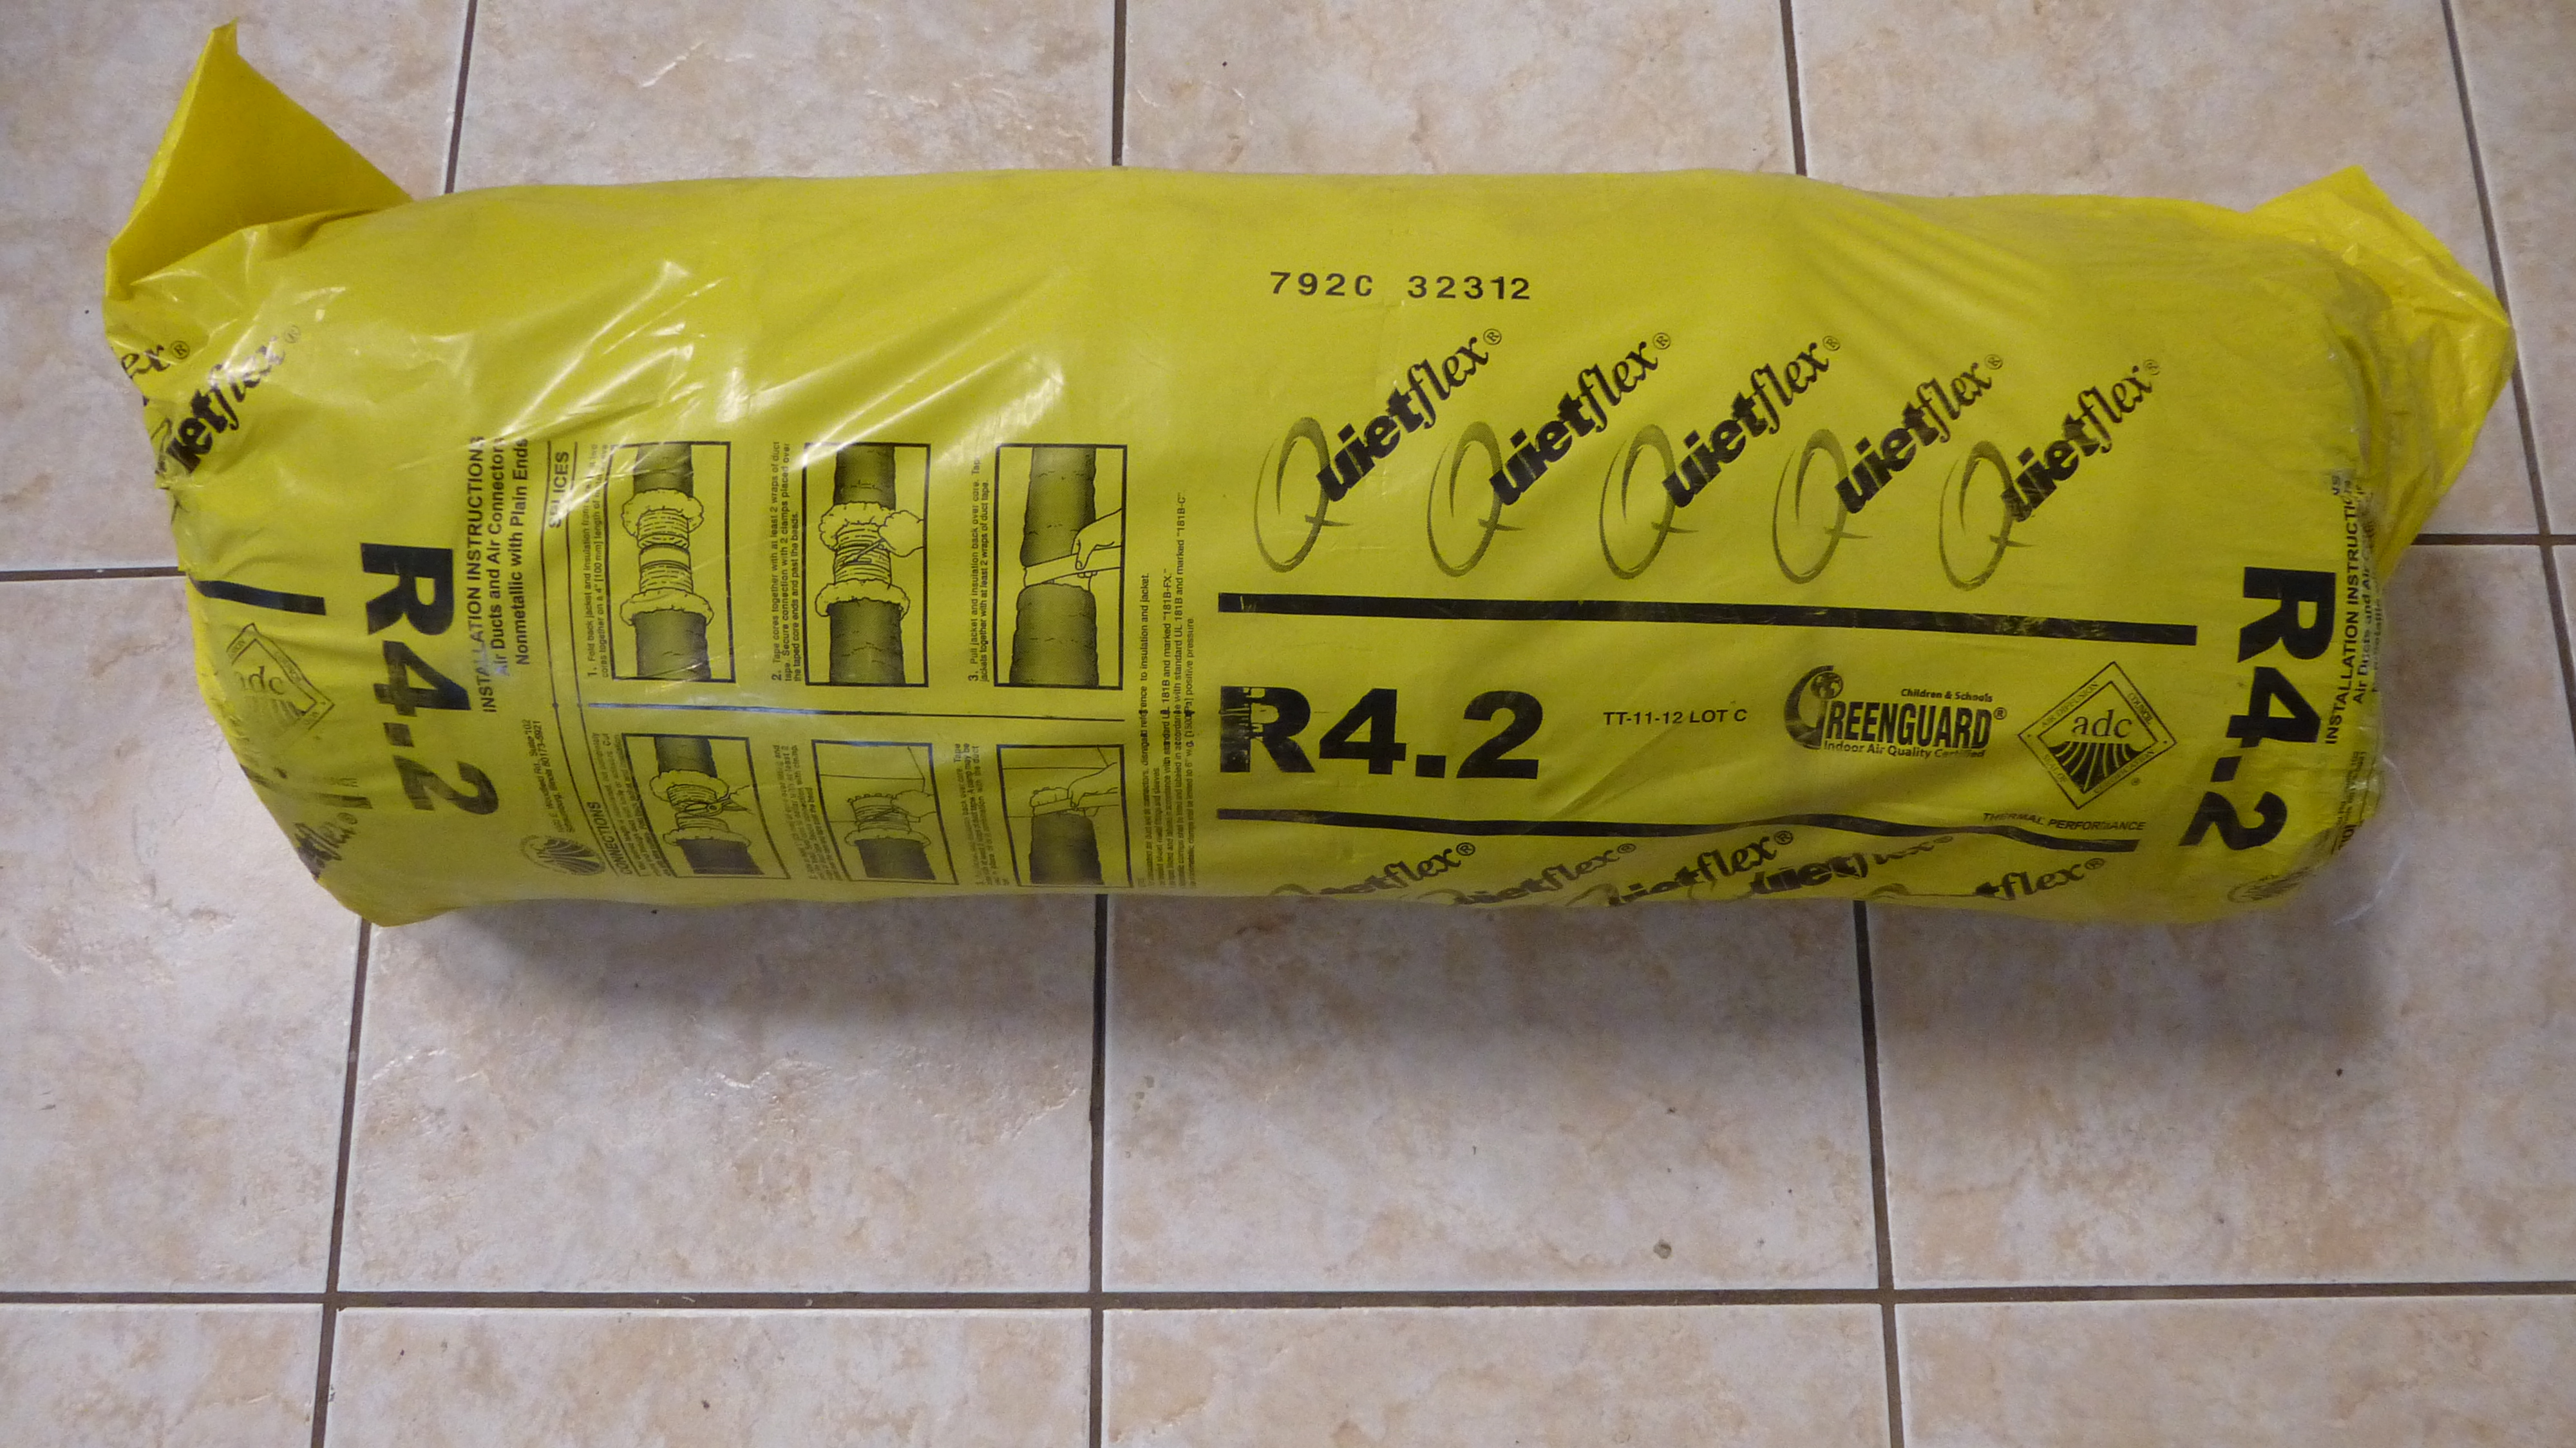
(Be careful opening this stuff. It tends to come out of the wrapper like one of those spring loaded snakes in a can.)
Since I had plenty of Quietflex left over, I just needed a way to tap into the ceiling vent and get the cold air to the fan. After a long-distance call to a good buddy who used to run his own air conditioning company, I knew I had a plan.
THE PLAN
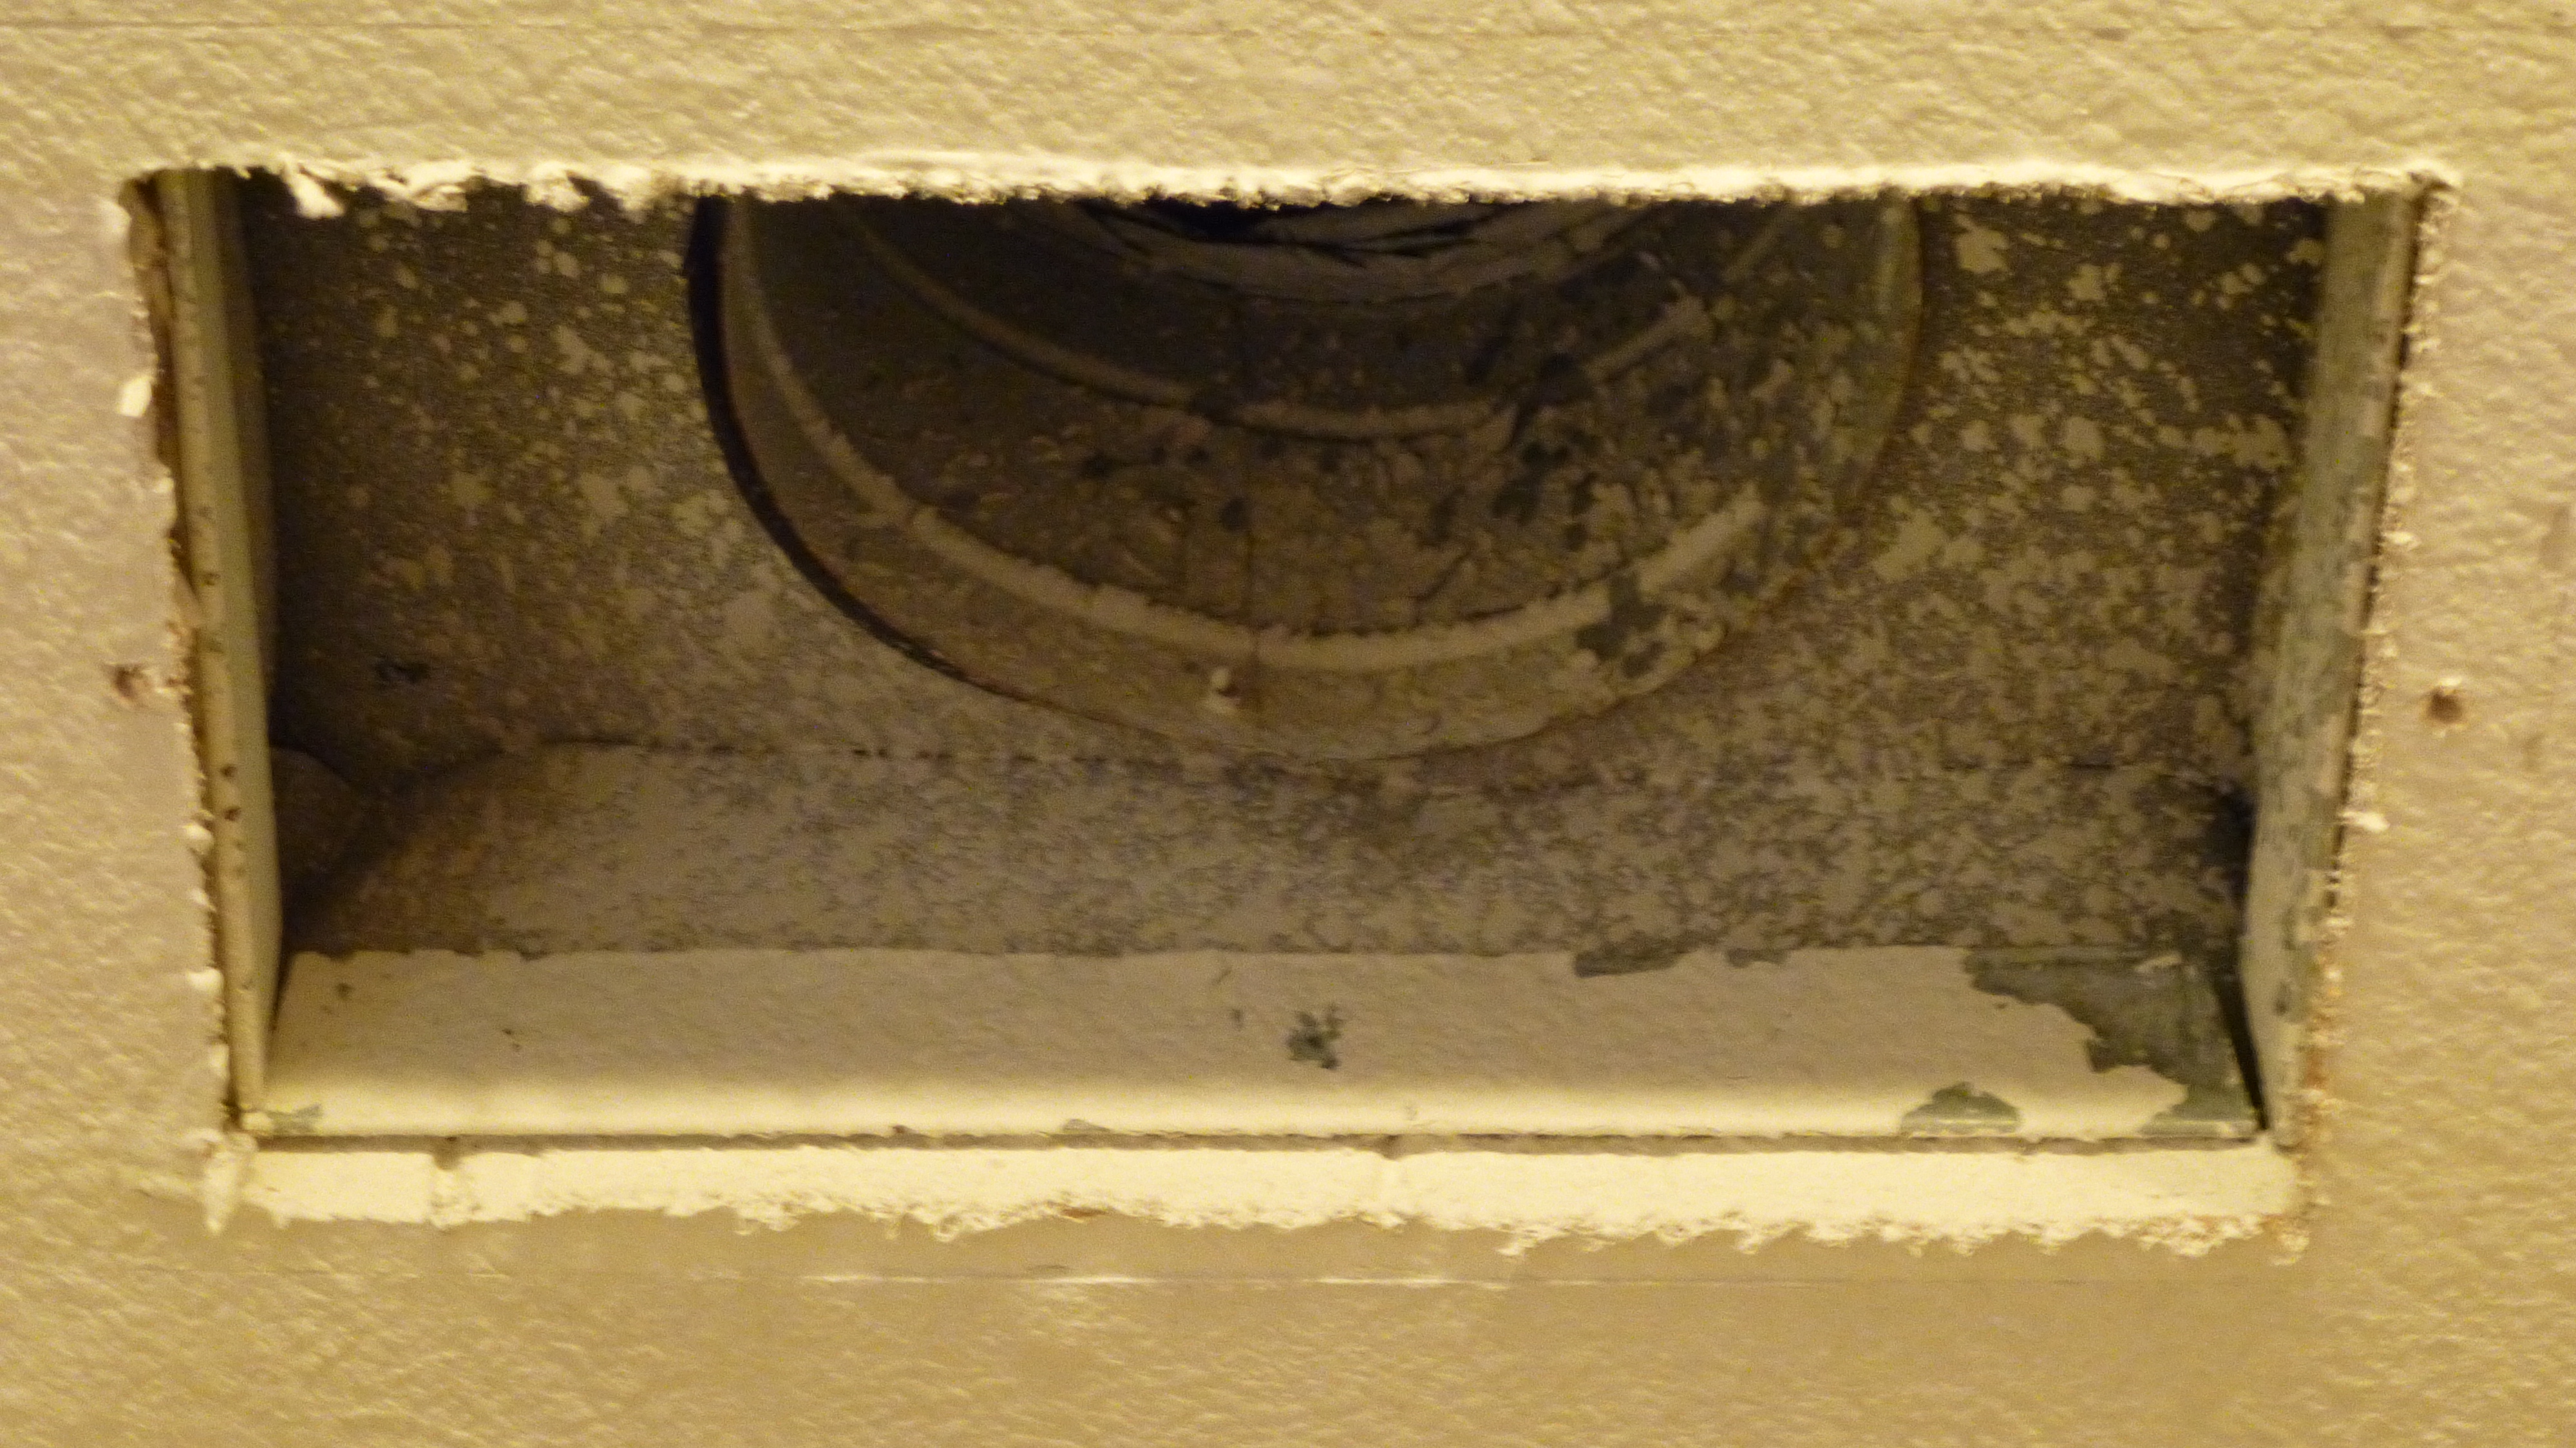
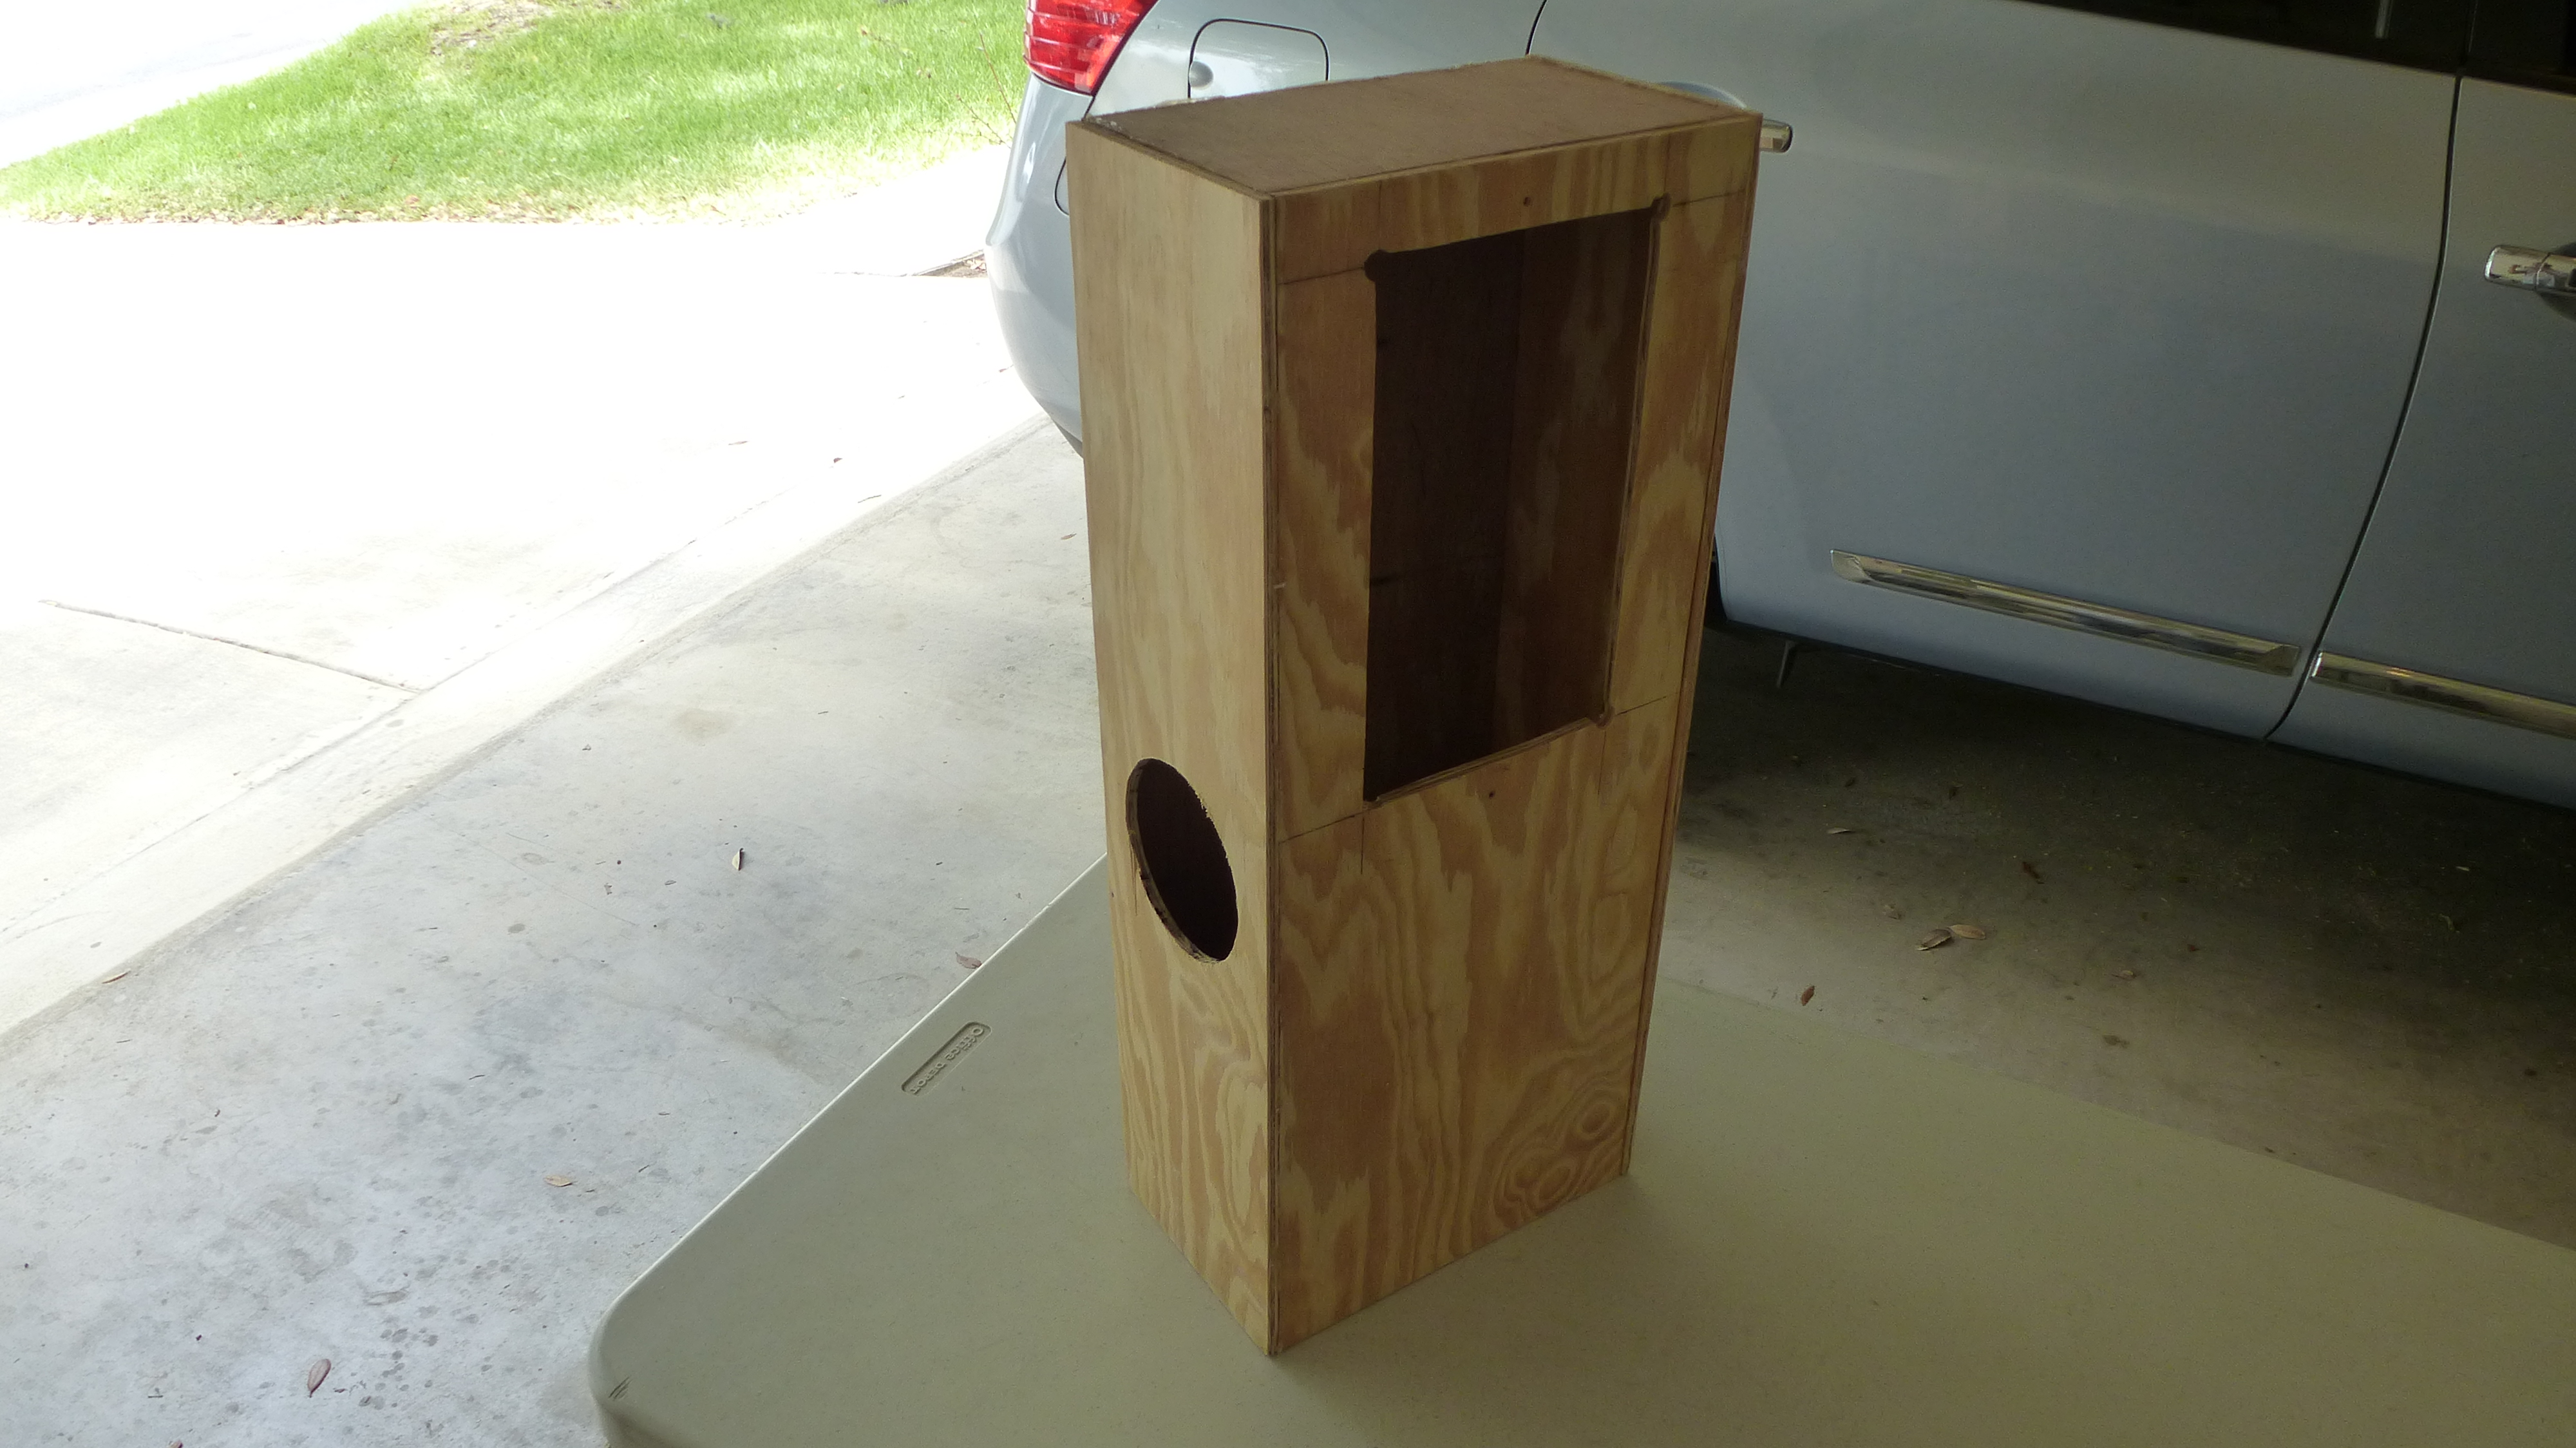
The plan was to remove the grille from the ceiling, and build a plenum (that’s a fancy HVAC word for box) that fits inside the duct box where the air comes out. Then, cut a hole in the plenum for a grille to ventilate the room, and another hole to connect to the Panasonic fan.
I already had most of the materials on hand I thought I would need, which is why I was able to pull this off so cheaply. I only had to buy a little bit of plywood, some clamps, a titanium drill bit to cut through the metal duct box in the ceiling, a hole saw kit, paint, glue, anchors, and some round adapters. You’ll find a complete list, with prices, at the end of this blog.
There’s a 10 inch x 6 inch duct box in the ceiling.
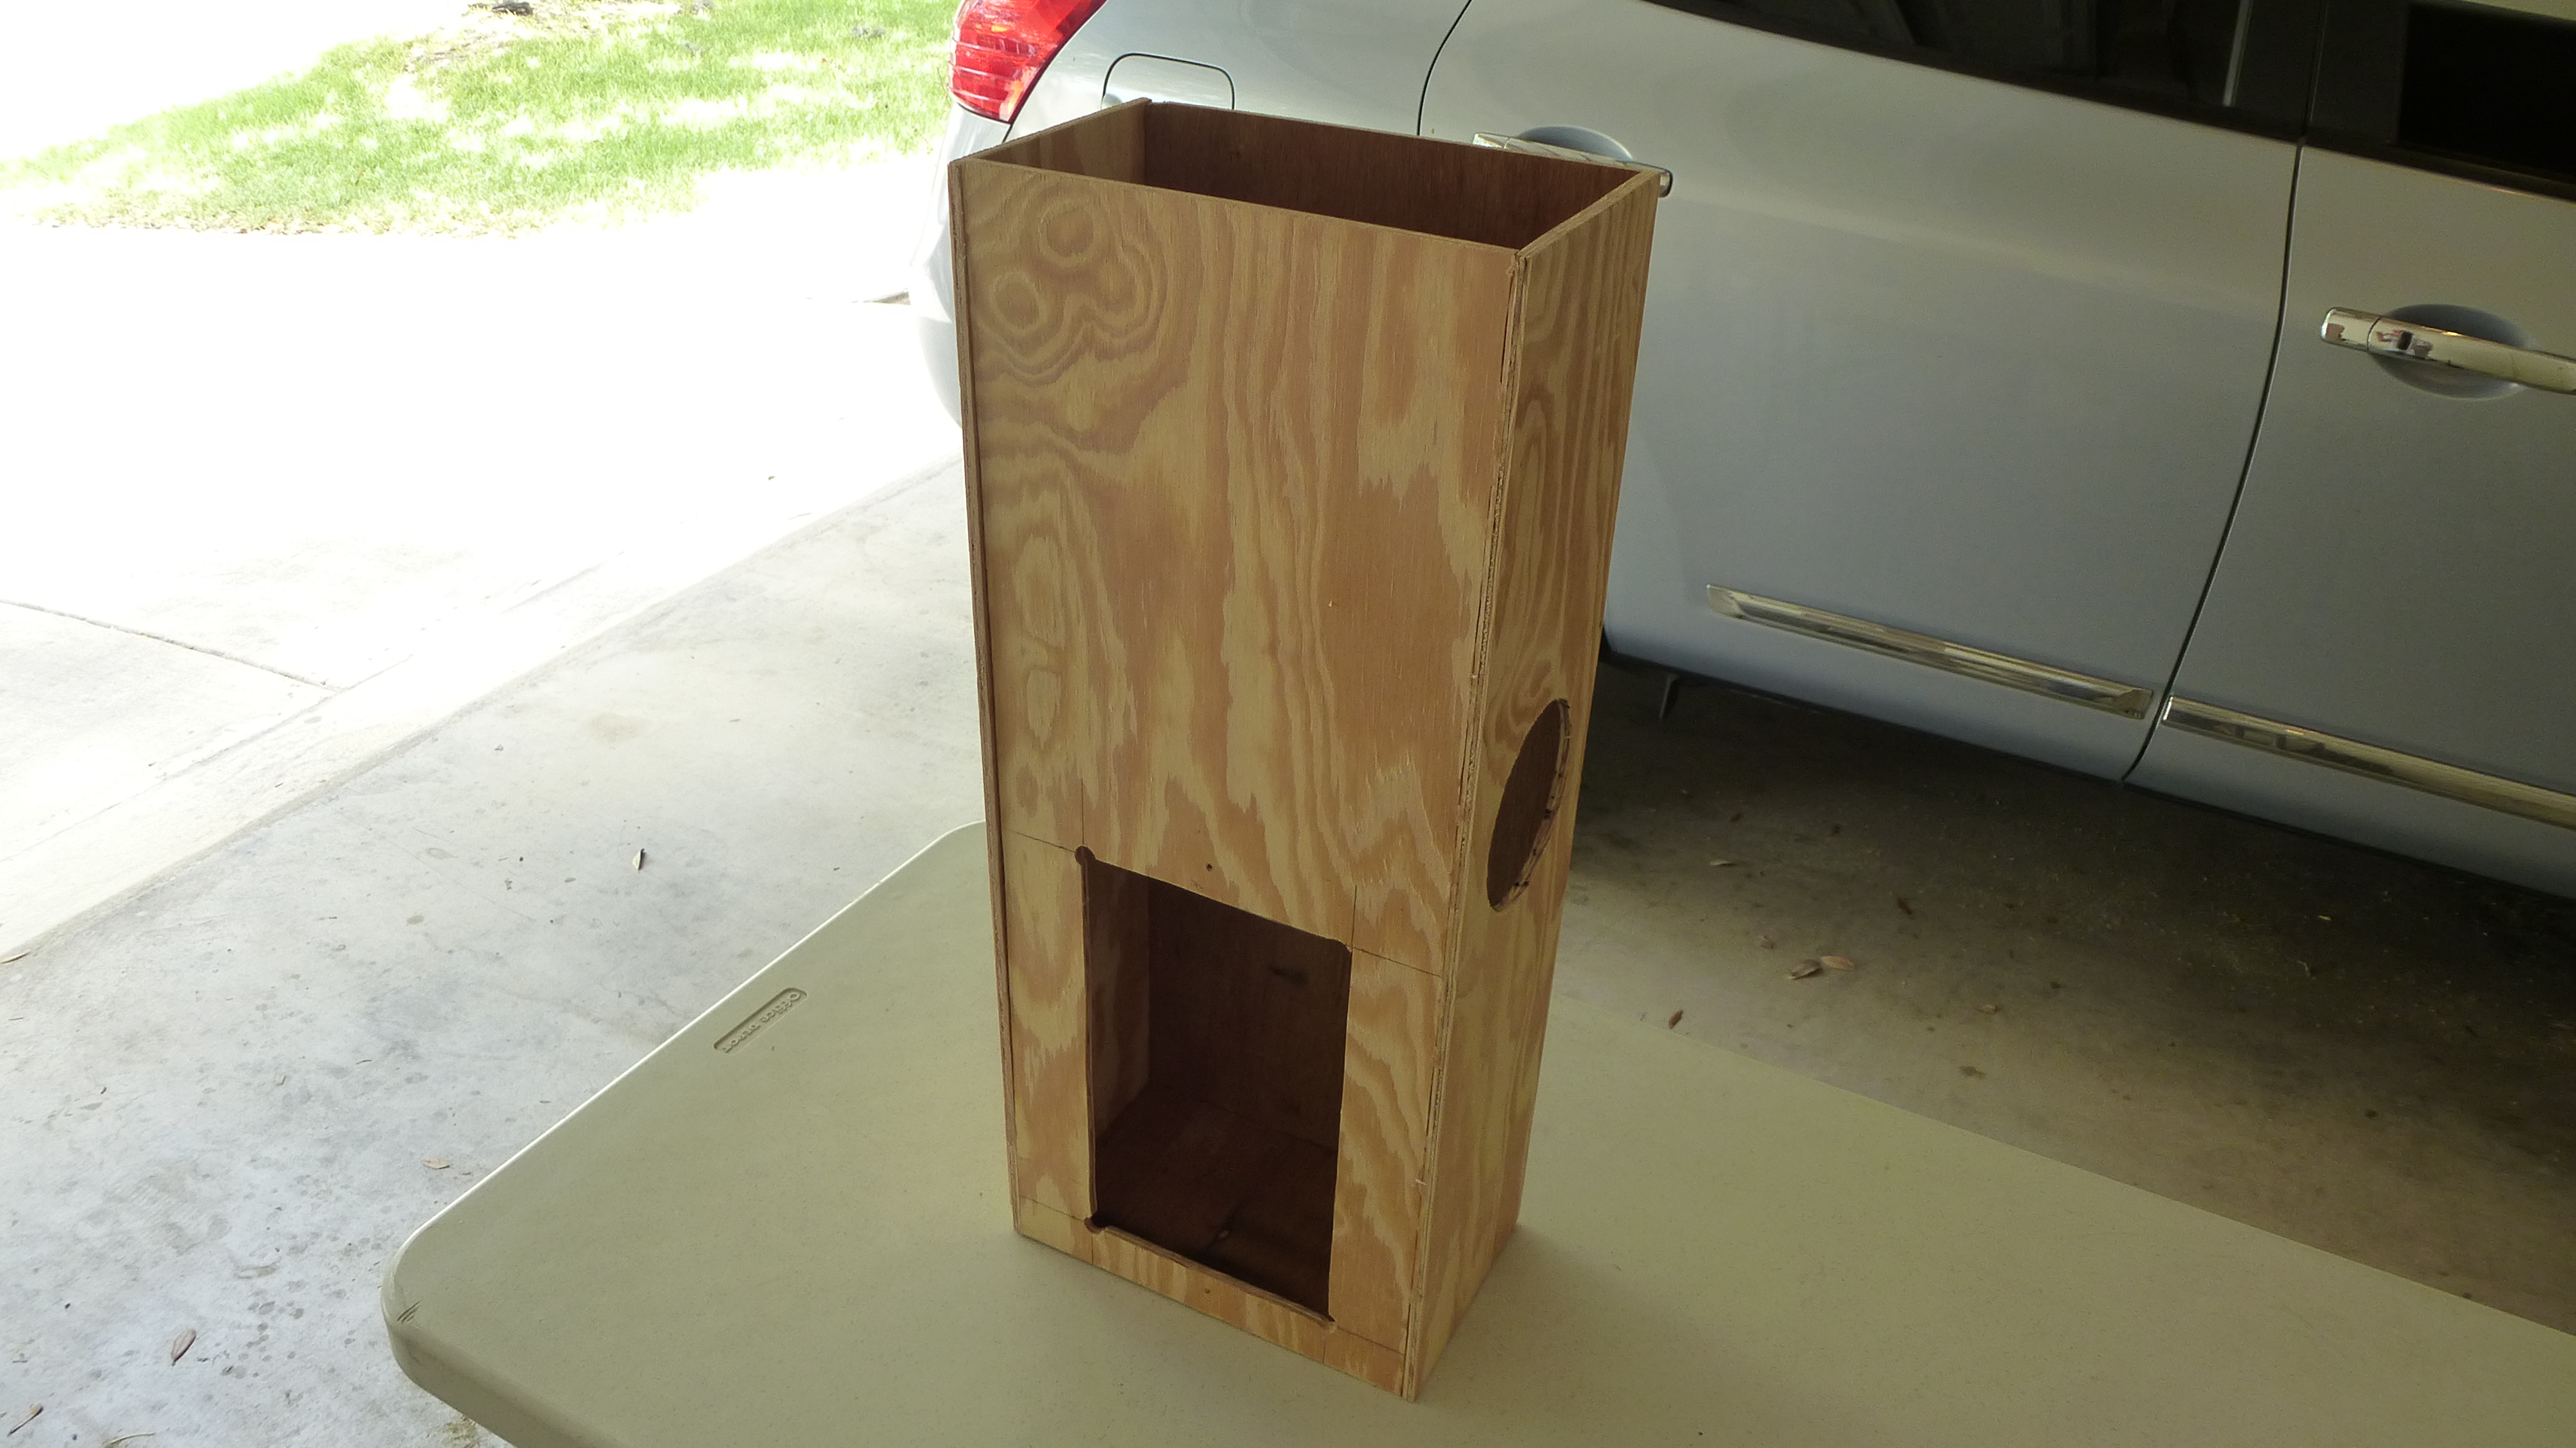
I used 15/32 inch plywood to make a 10 inch x 6 inch box. It hangs down 2 feet from the 9 foot ceiling. To minimize leaks, it’s deliberately a very tight fit, but it’s also attached to the ceiling with expansion bolts just to be sure it doesn’t fall out.
(If you decide to build a plenum, remember the old rule: measure twice, cut once. Or in my case, measure 3 or 4 times.)
After I built the plenum, I cut a 10 inch x 6 inch hole in the front to mount a grille, and cut a 4 inch hole in the side for the 4 inch to 6 inch round adapter that connects it to the Quietflex.
Here’s how it looked before I painted it.
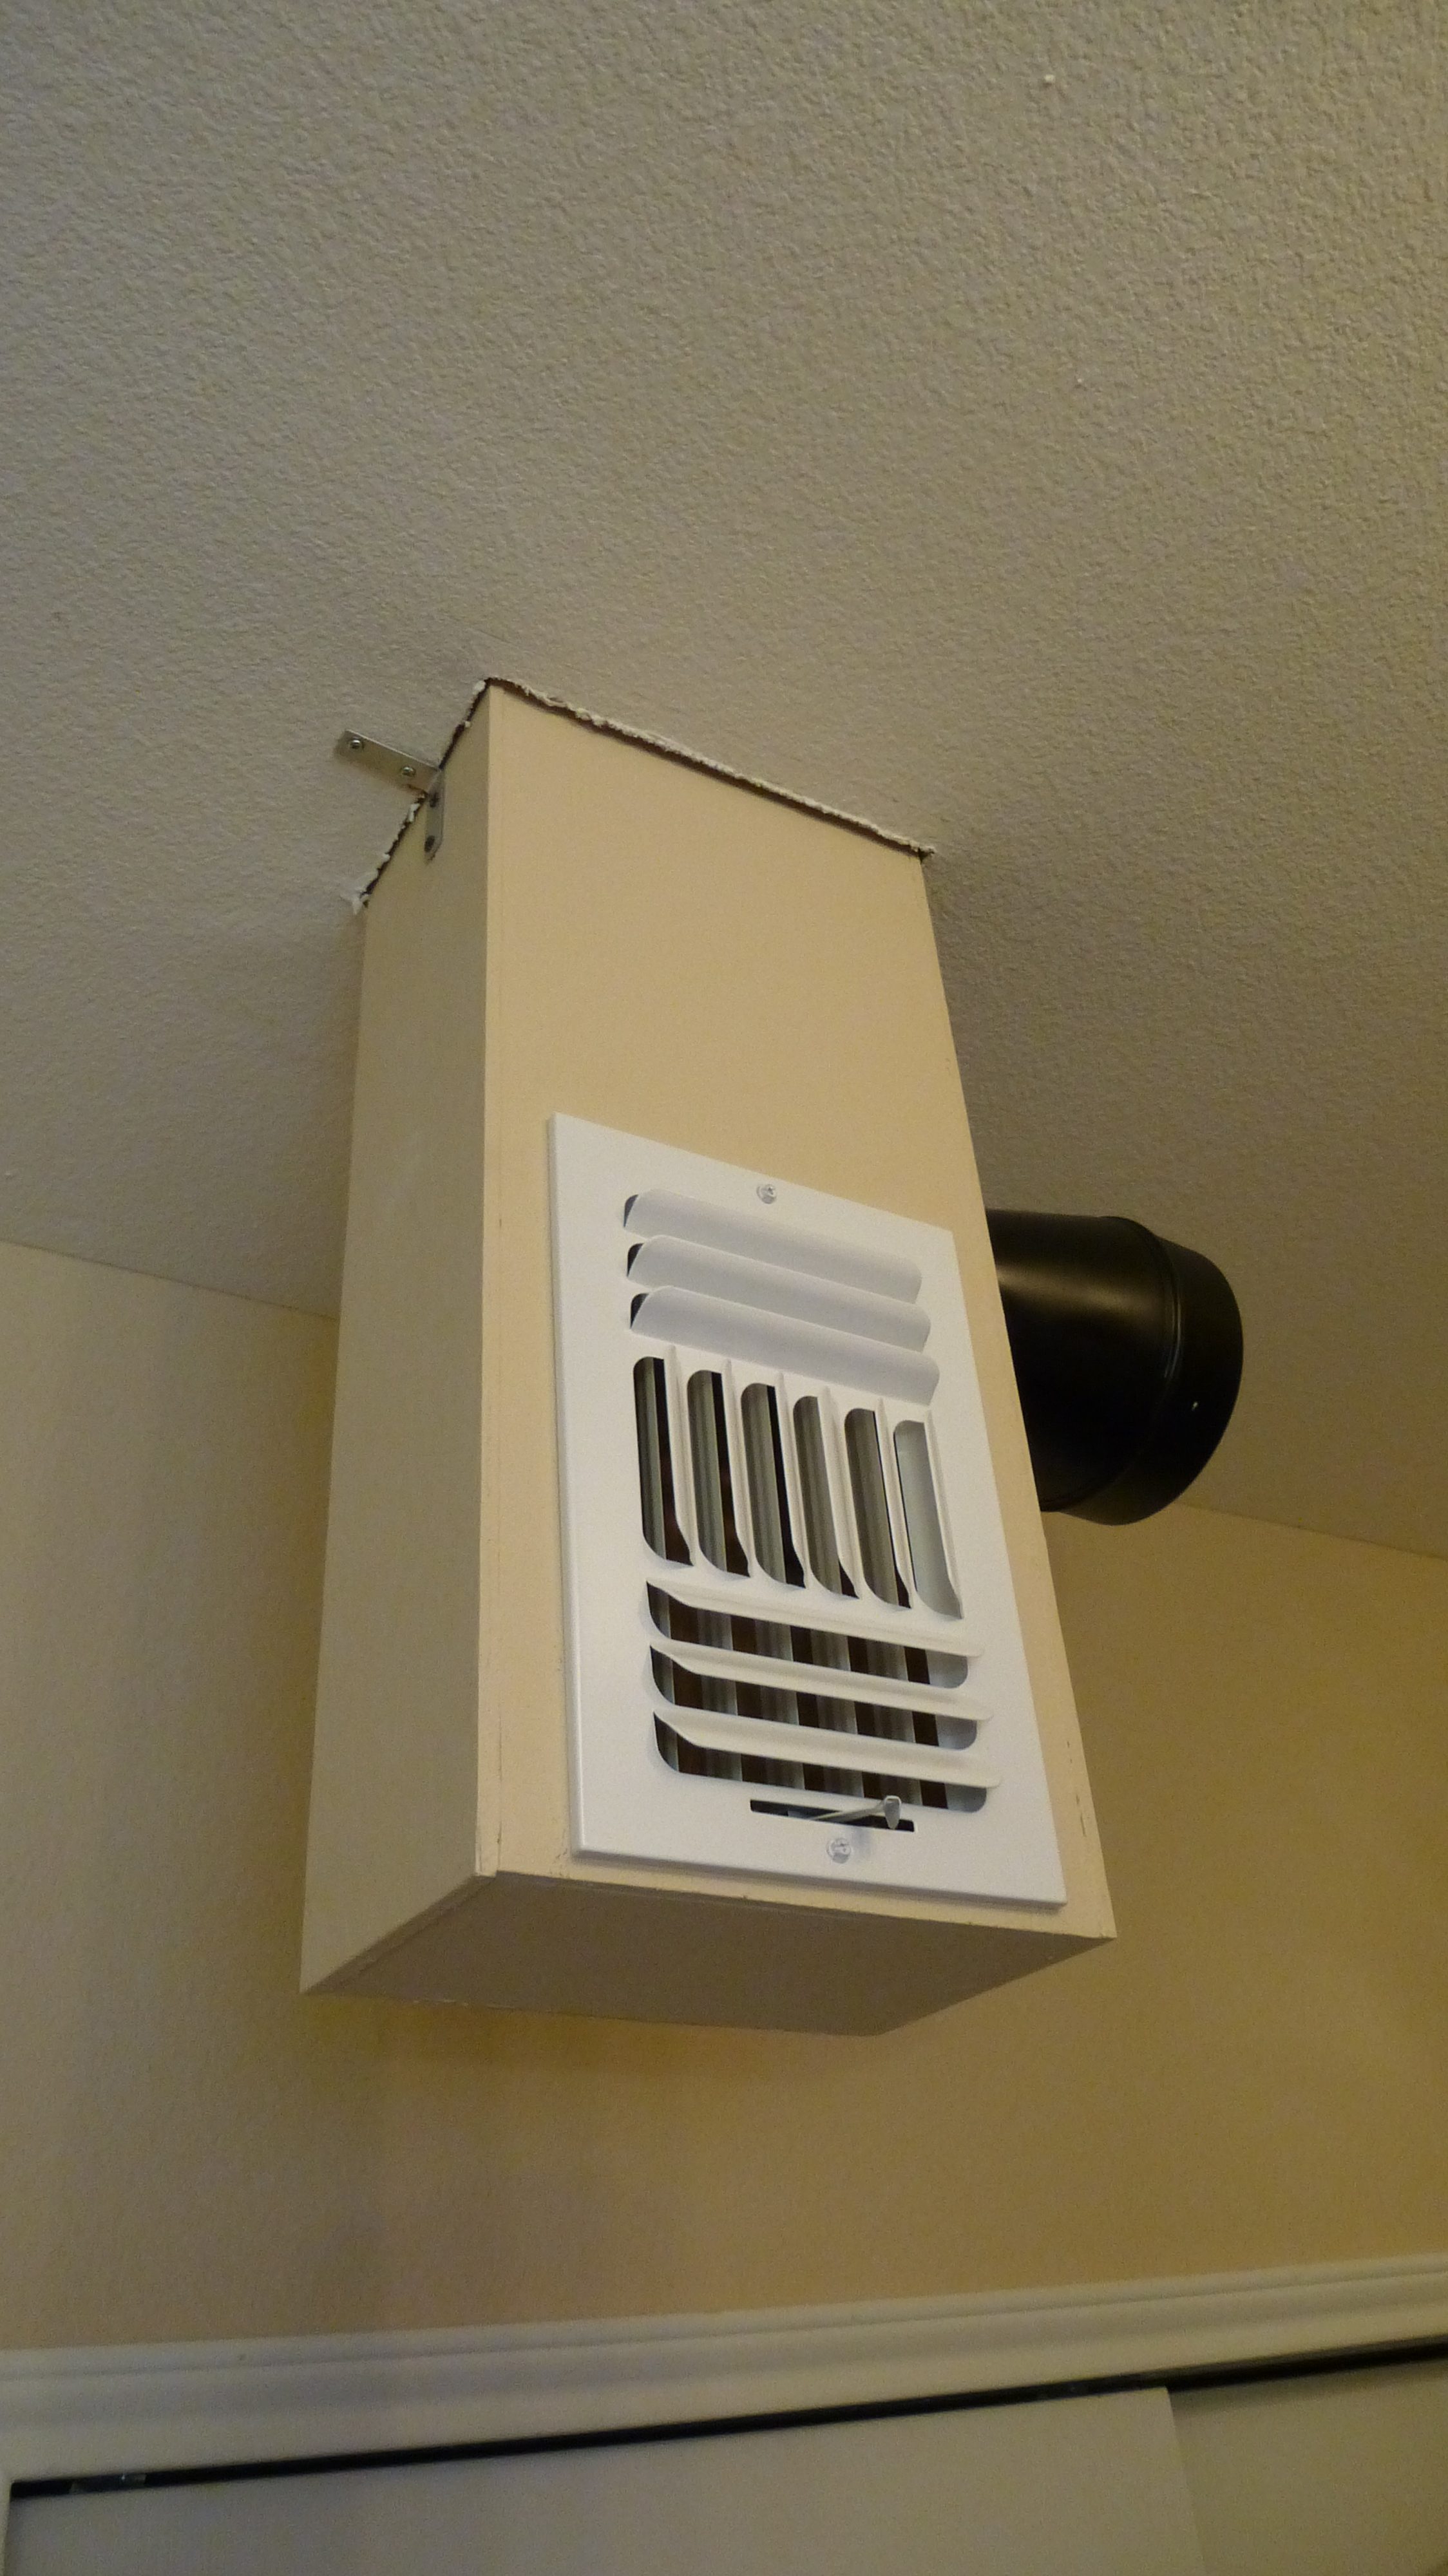
And here’s how it looked after 2 coats of some paint that was leftover from when we painted the room a few years ago.
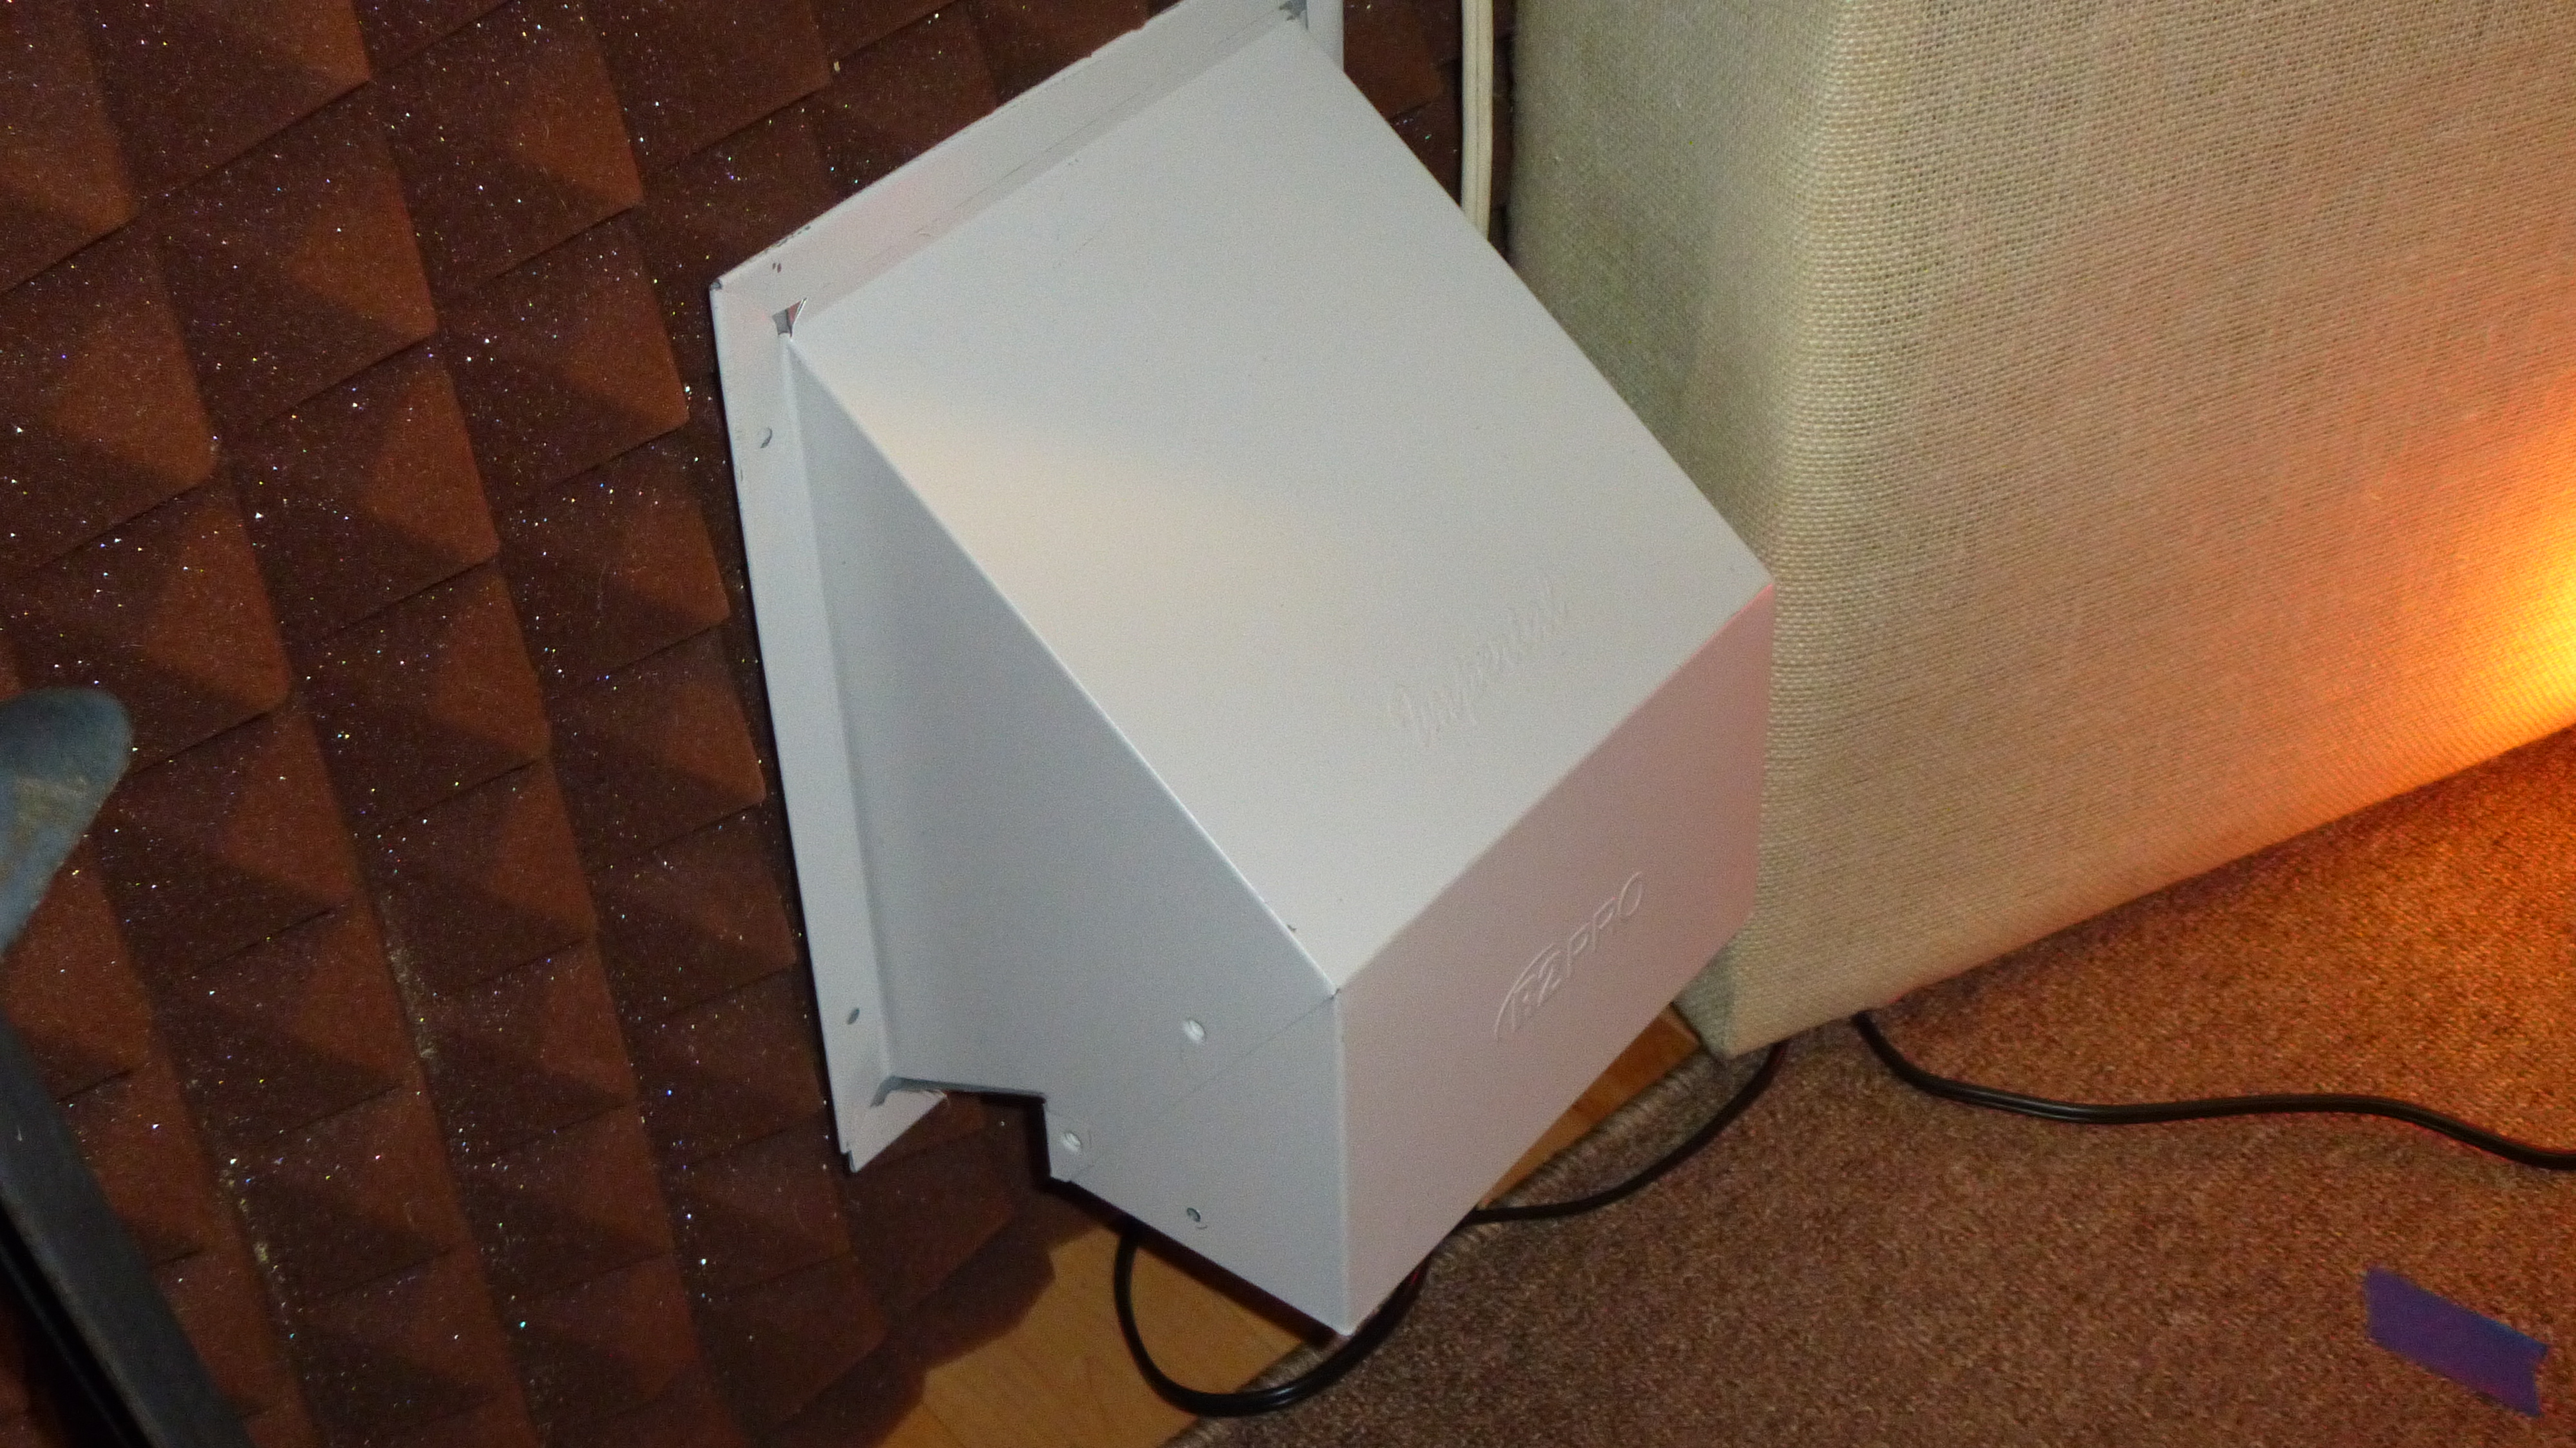
Here’s how the system looks all hooked up.
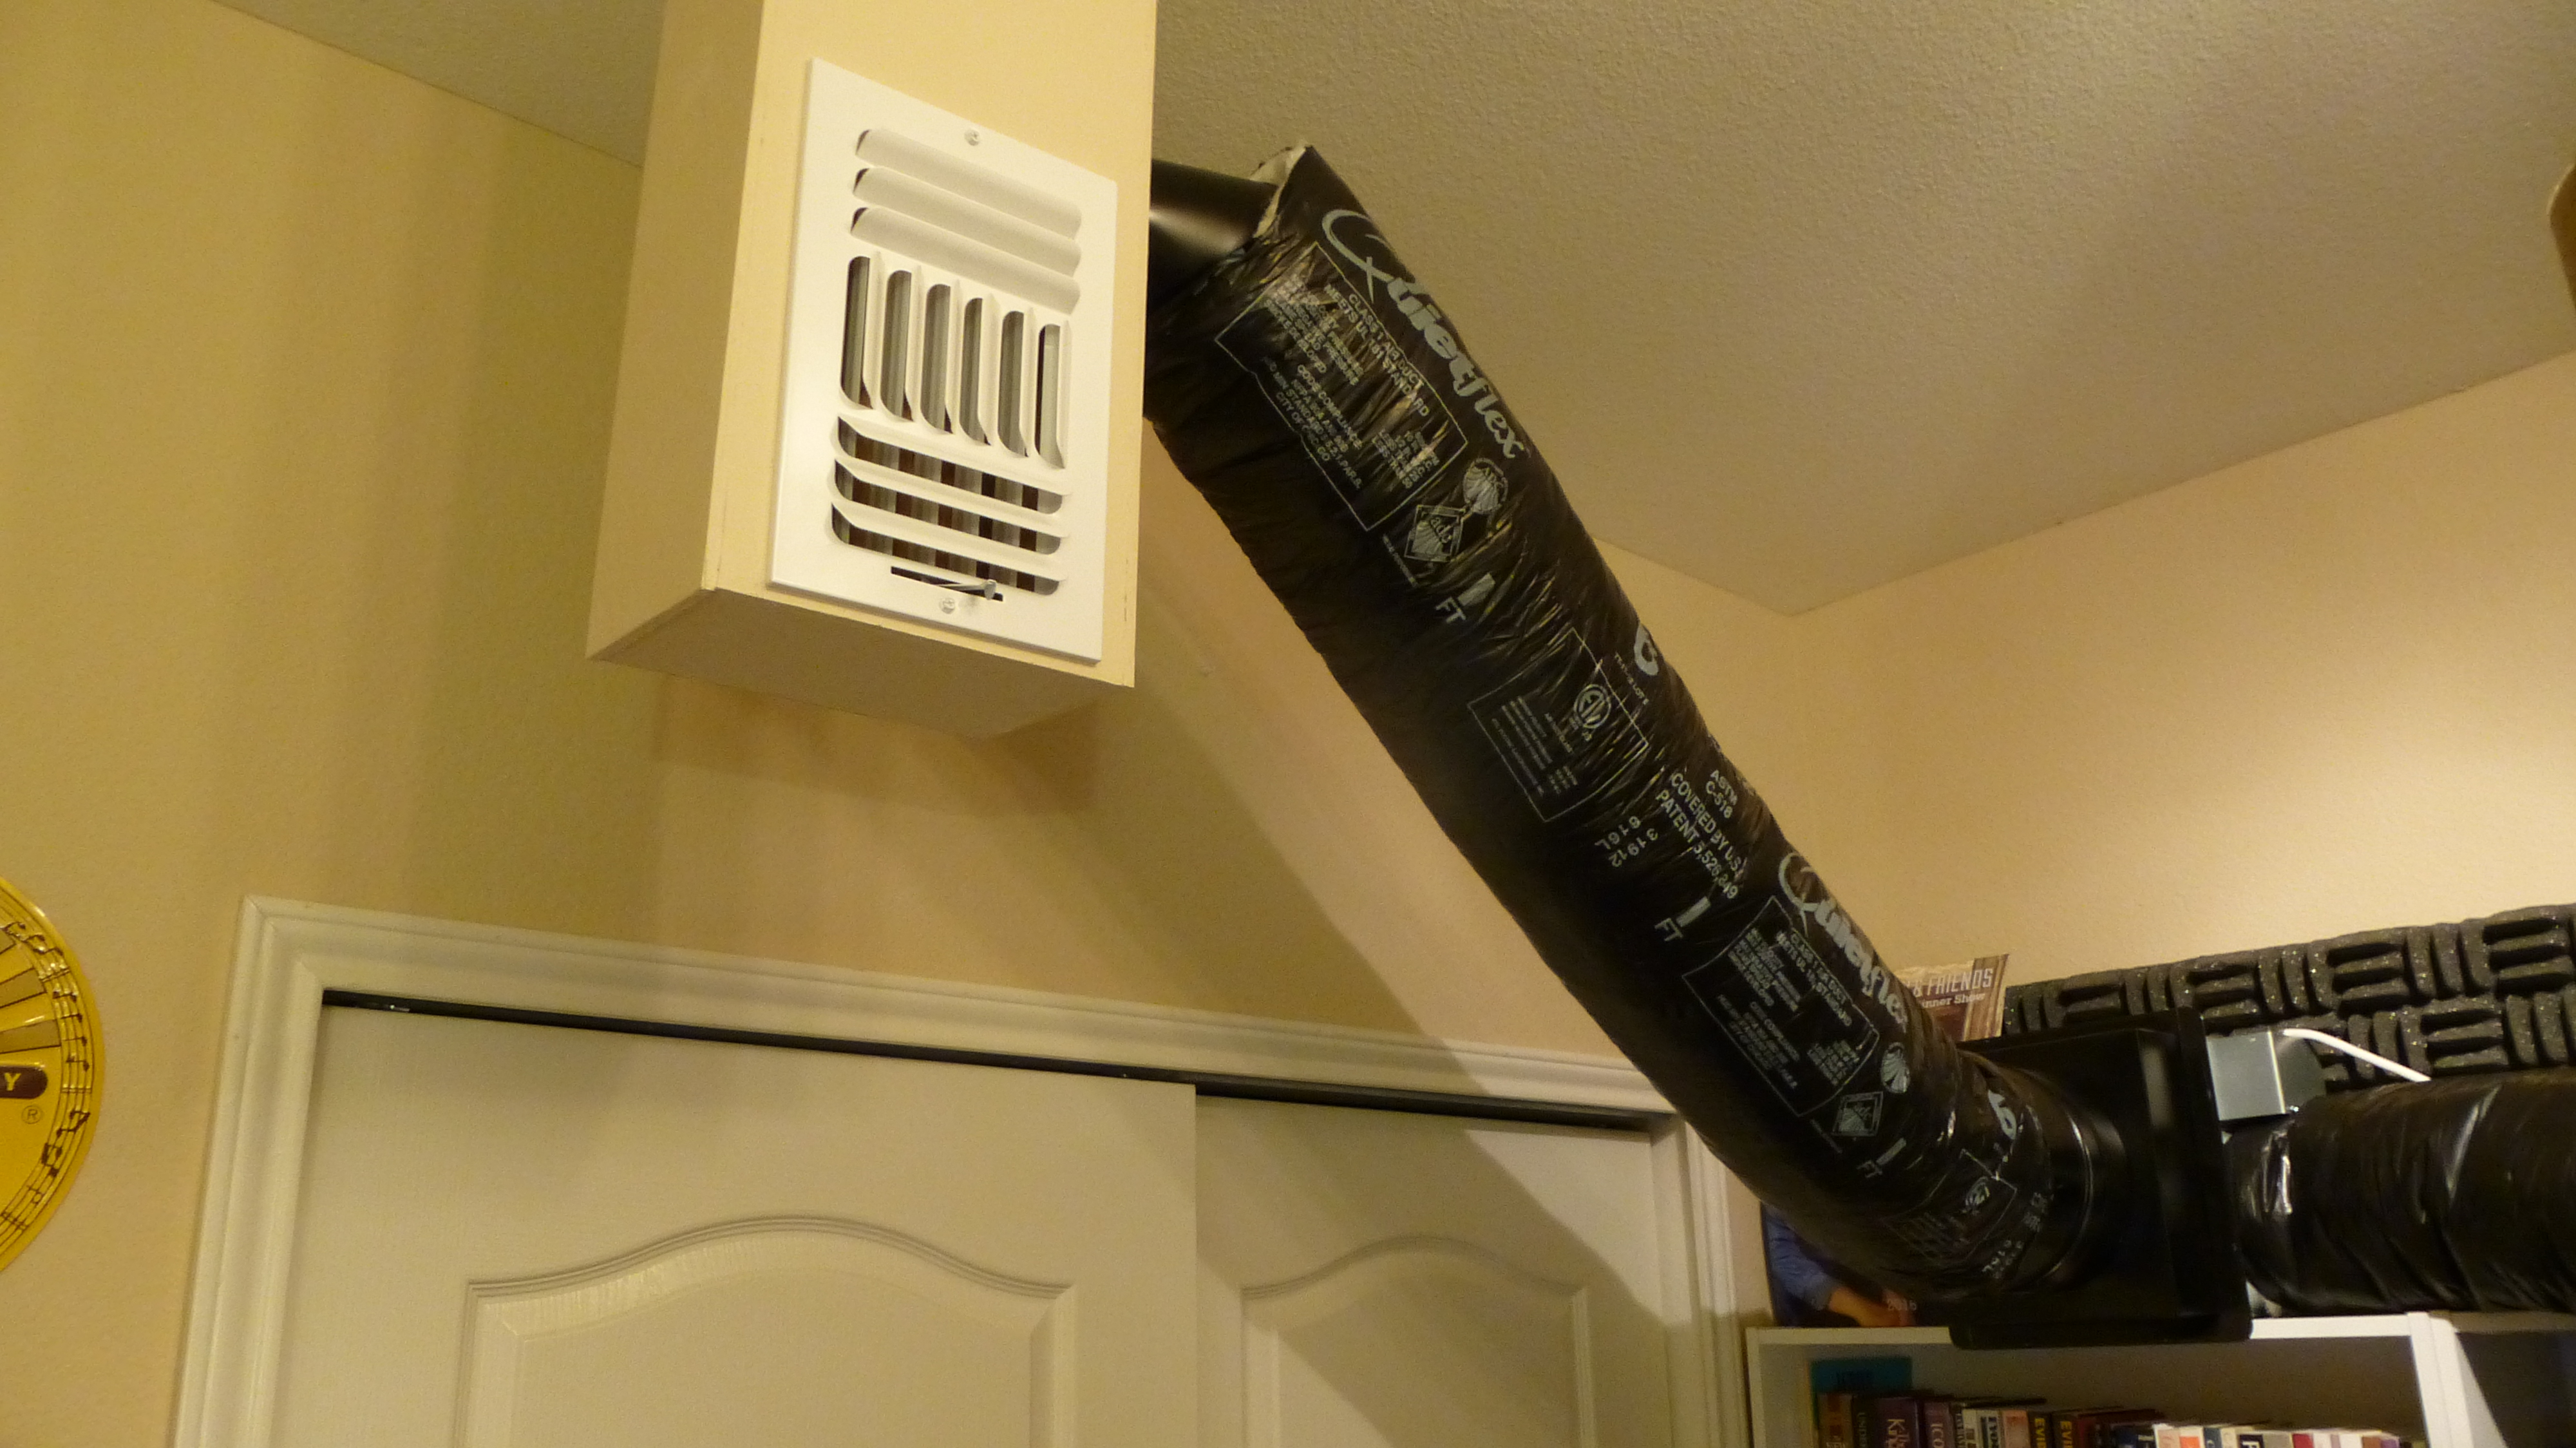
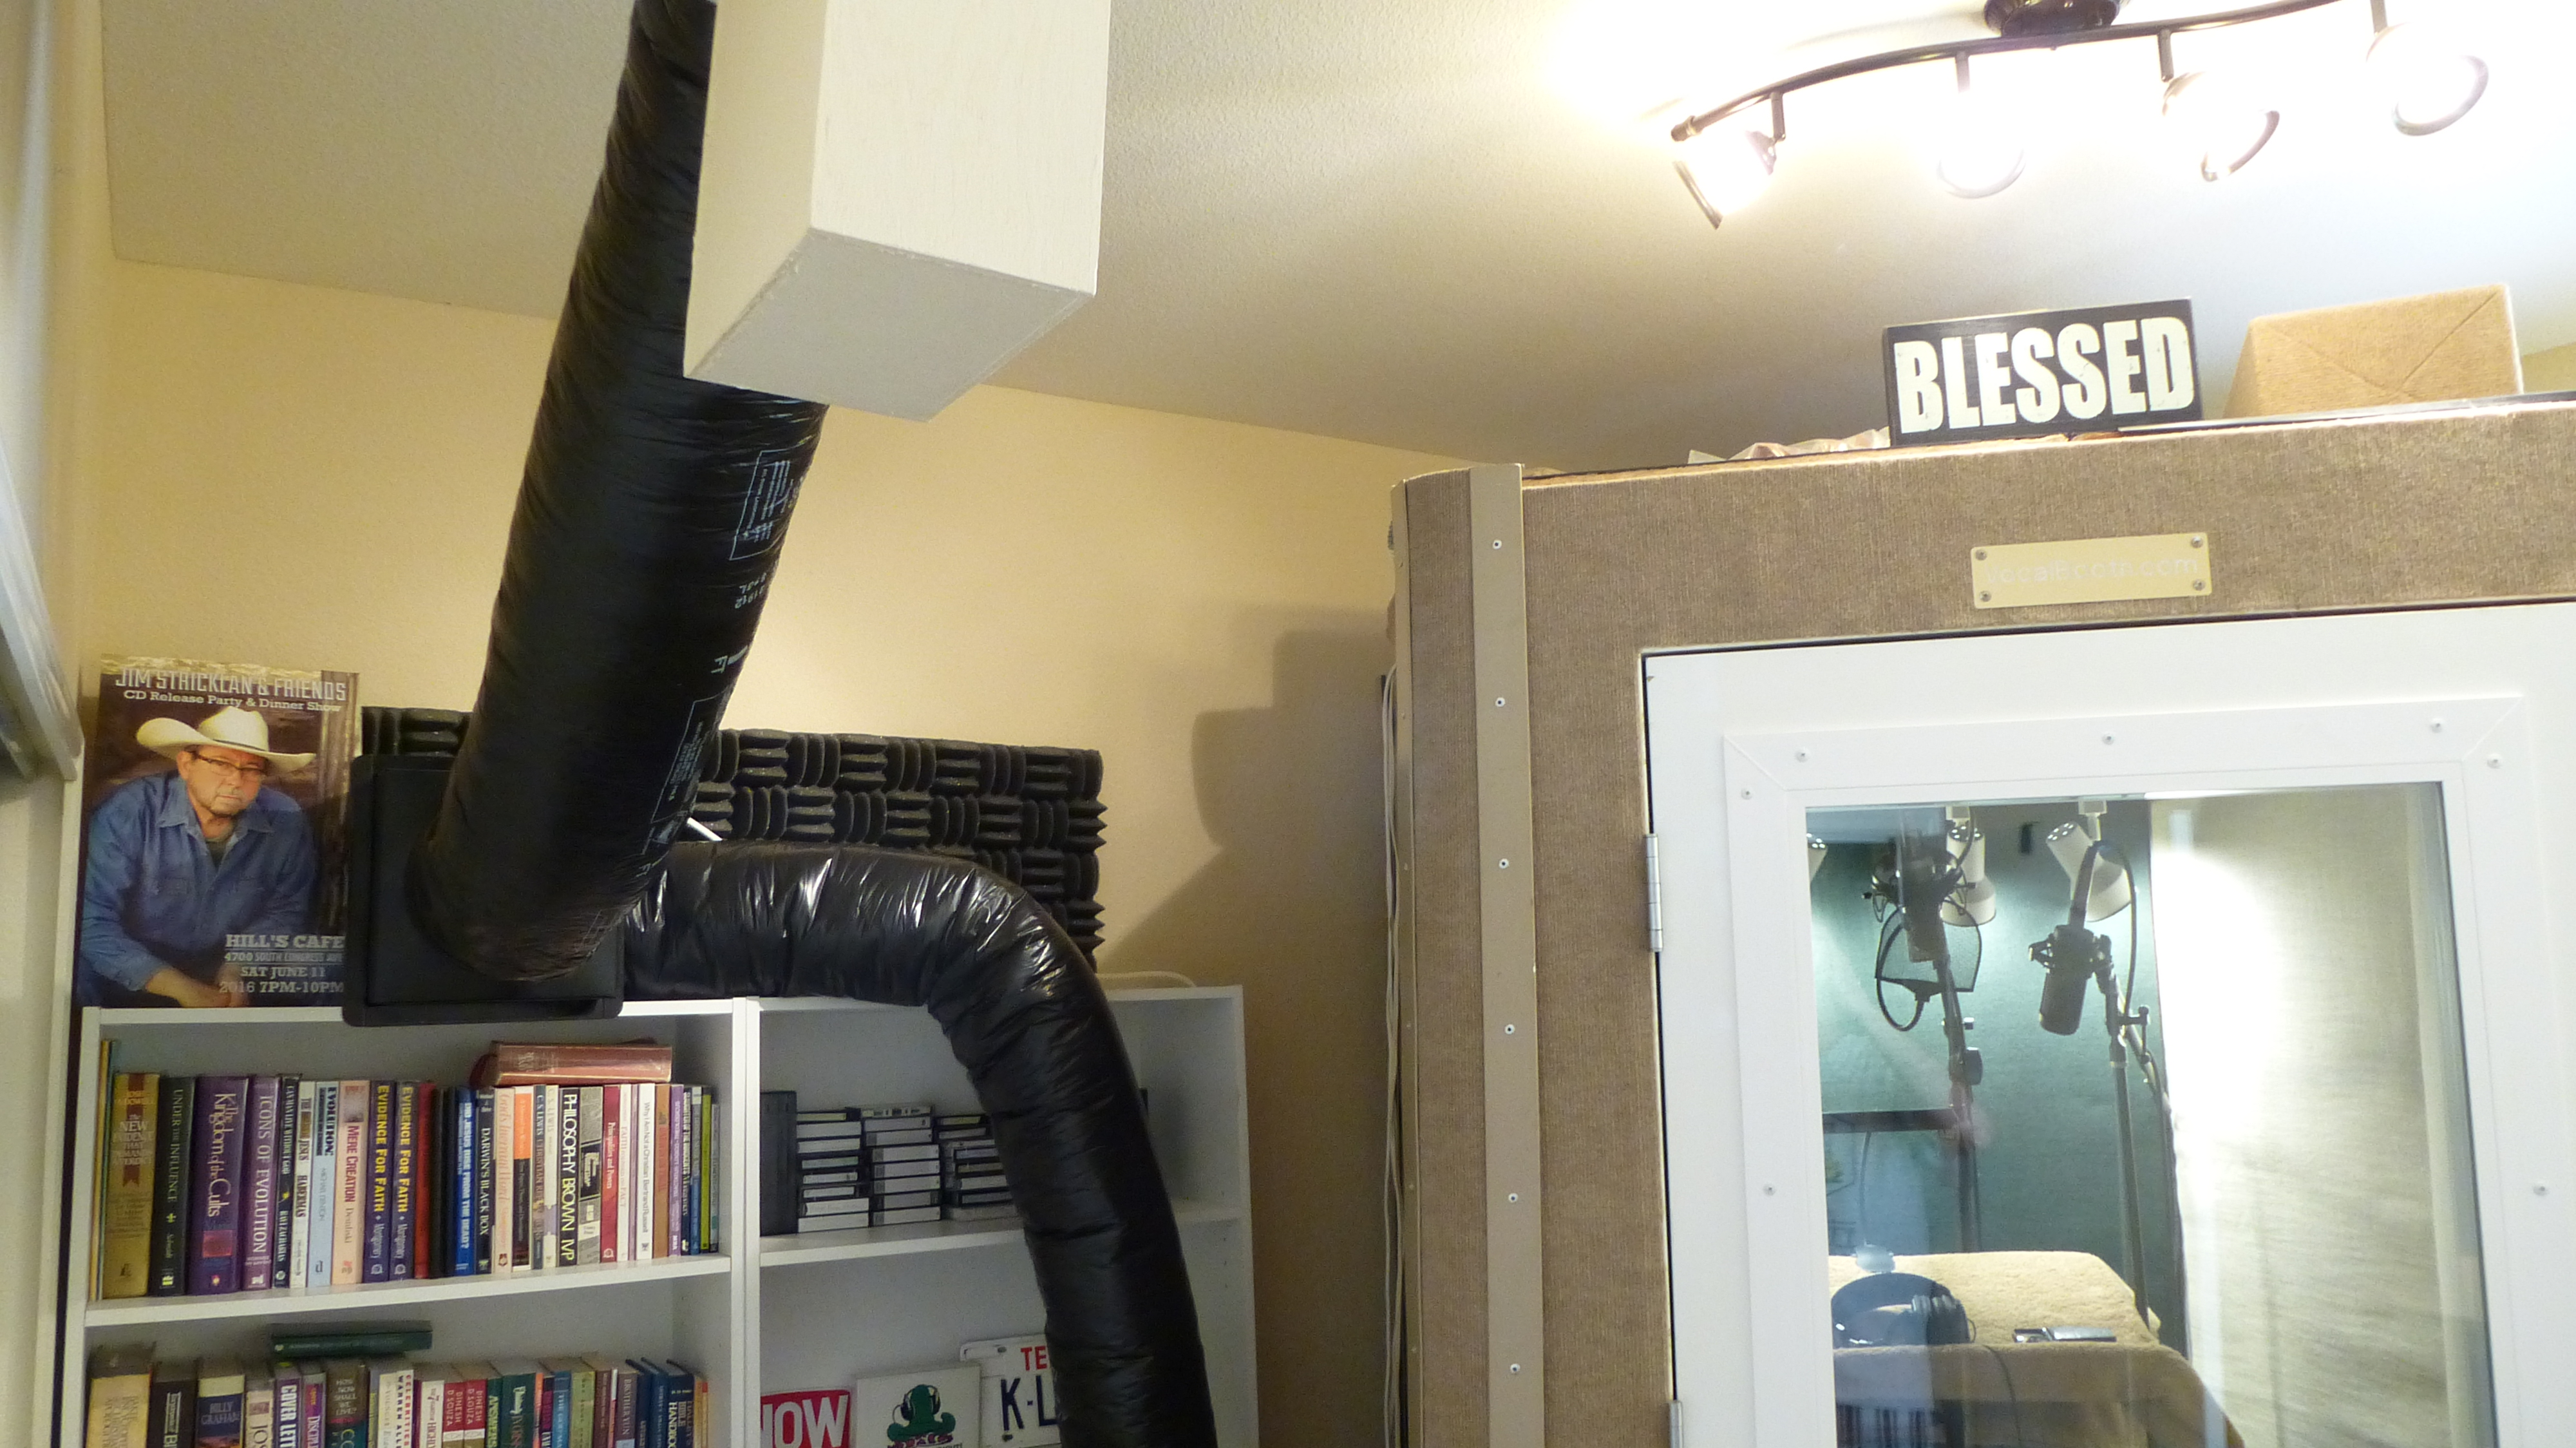
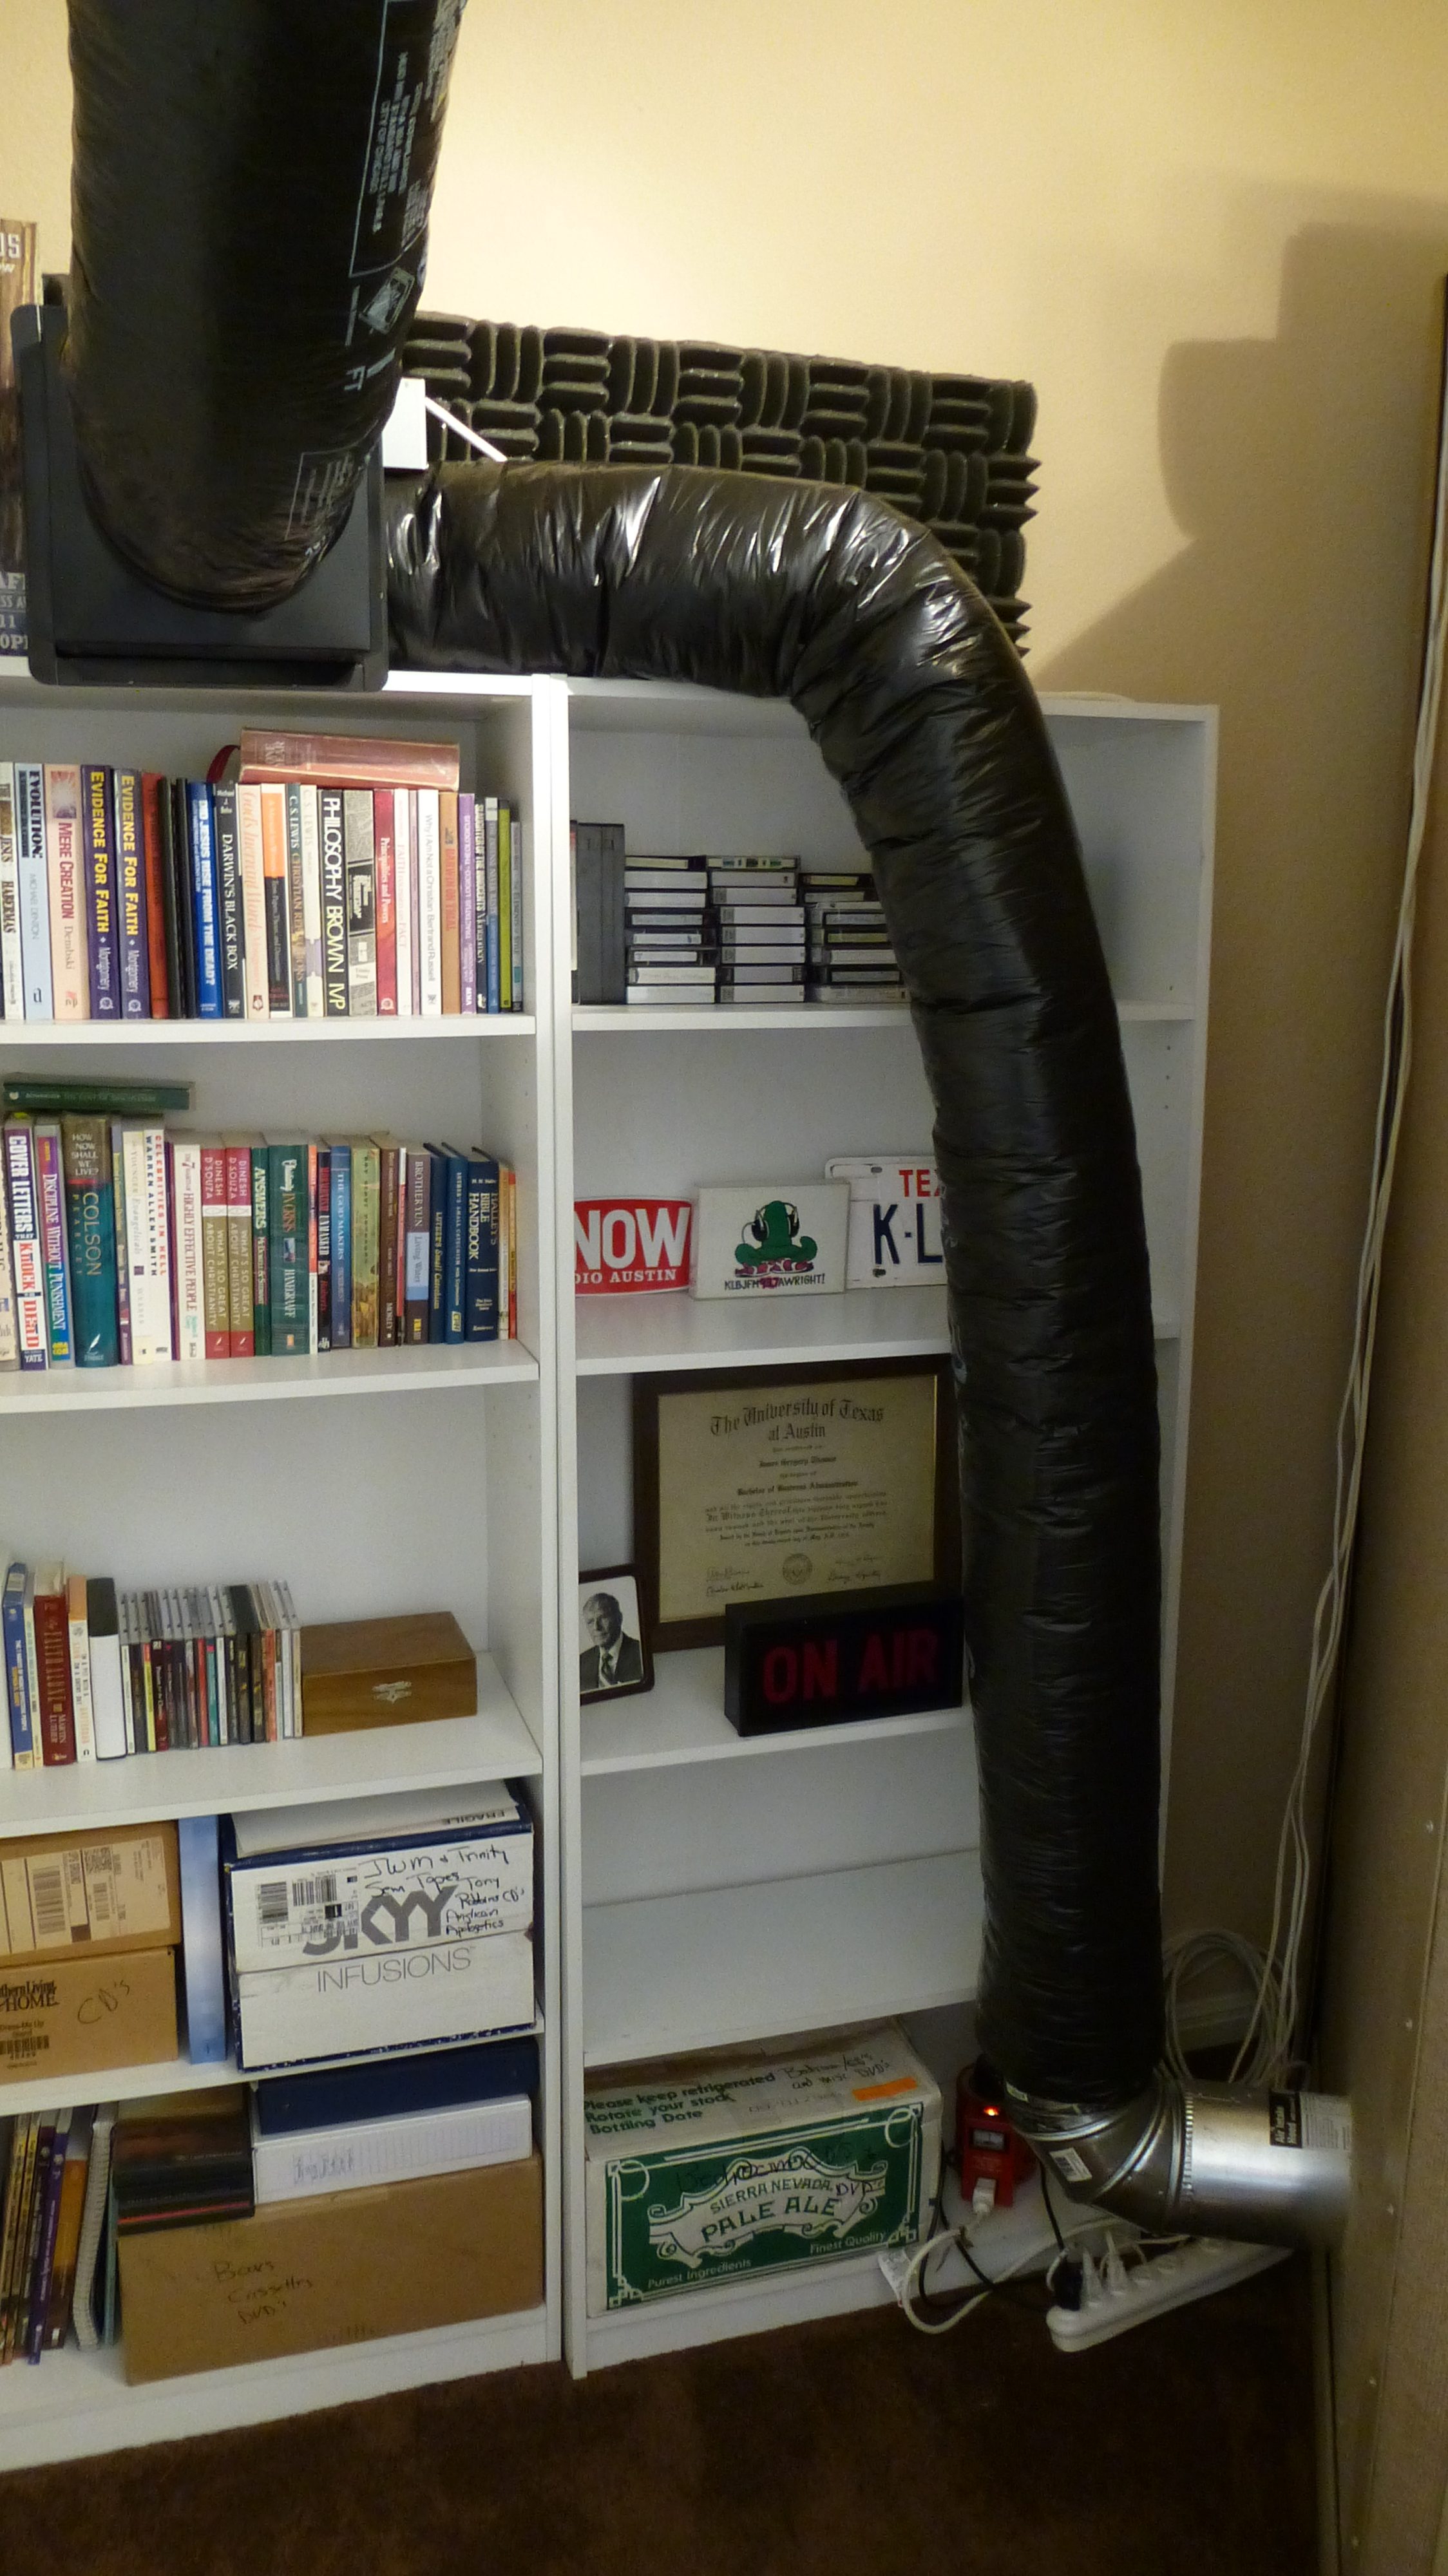
The cold air comes out of the side of the plenum. A 3 foot section of Quietflex carries the cold air from the plenum to the Panasonic fan, and another section of Quietflex carries the cold air from the fan to the booth.
SO…..HOW WELL DOES IT WORK?
Beyond my wildest expectations !!!
We try to keep our thermostat at 77°F in the summer, and at 80°F when we’re not at home. So before I built the plenum, the temperature inside the booth was typically about 82°F.
But that was before I got in there and started voicing scripts.
After I’d been in the booth for 15 or 20 minutes, I was sweating away because the temperature was up to 88°F. That’s a 6 degree rise in only 20 minutes.
Just from my own body heat.
Now, with everything connected, I can step into a pleasantly cool 76°F booth, and the temperature does not rise during a session. Instead of working in an 88°F booth, I now work in a 76°F booth.
That 12 degree difference is HUGE.
And if I set the house thermostat on 75°F, I can get the booth down to 70°F.
I thought I might have to keep the white grille on the front of the plenum closed in order to force enough air into the booth to keep it cool, but I don’t. The Panasonic fan pulls enough cold air into the booth without closing the grille, so both the room and the booth stay cool.
And since I’m using the same fan to ventilate the booth that I did before, the noise floor hasn’t changed. My noise floor is -71.68db Total RMS amplitude, Ref 0db.
And yes, I know…..for a lower noise floor, I could build a proper baffle box instead of connecting the duct work directly to the booth. But I don’t have issues with noises getting in through the duct. (Not even the psycho barking dog across the back fence.) So I’m not sure how much improvement I would see in the noise floor by building one.
But all of this was designed as a test of concept anyway. If it didn’t work, I wouldn’t be out an arm and a leg, and if it did work, I’d be cool.
And for a guy who never was one of the cool kids growing up, being cool is a big deal.
Here’s a list of the materials I used and their costs at the time of purchase:
- A 6” to 4” round reducer to connect the plenum to the Quietflex $7.57
- An 8” to 6” round reducer to connect the Quietflex to the Panasonic fan $8.67
- A 10” x 10” to 8” ceiling register box to connect the Panasonic fan to the 8″ to 6″ round reducer $12.86
- Three 6 inch hose clamps $5.94
- A 3/16 inch titanium drill bit $3.48
- Air intake/exhaust hood with screen, 6 inch (take the screen out) $27.48
- Two pieces of 15/32” common pine sanded plywood $12.54
- A tube of Elmer’s WoodGlue Max to glue the plenum together $2.68
- Pkg of 2.5” corner braces to attach the plenum to the ceiling $2.98
- 10” x 6” 3 way air register (because the old one was rusty) $7.63
- Can of black spray paint to make the shiny metal match the Flexduct $5.88
- Hole saw set to cut a round hole in the plenum. Found it on sale for $9.99
- Masonry anchors to secure the plenum to the ceiling $2.28
That’s a total of $109.98 + 8.25% sales tax = $119.05. I already owned a drill and a jigsaw.
REDUCE, REUSE, RECYCLE
Of course, one of the reasons I was able to chill out so cheaply was that I already had the Quietflex duct, the Panasonic fan and a variable transformer left over from my previous attempt to cool off the booth. You may be able to keep costs down and tie your current booth into an air conditioning duct using something similar to the design I created.
The Panasonic fan I’m using has been discontinued and replaced with a newer model. I’m assuming it’s a better version, but can’t guarantee that. If you do decide to get a Panasonic fan, a variable transformer, or some Quietflex, here are the names and the prices at the time of purchase. Suppliers change from time to time, so do an online search for each one. Amazon is always a good place to start. Most of the hardware and duct connectors are available at Lowe’s and Home Depot.
- Panasonic FV-1115VQ1 Whisperceiling DC Fan $157.52
- Quietflex 6″ duct $28.48. Quietflex has a new product called QAS Flex Duct that may perform better.
- Variable transformer* $68.10. Variac is the name brand, but there are others.
All prices are plus shipping. You will also need a 3 prong extension cord to connect the fan to the wall socket. Cut the socket (not the plug) off of the extension cord and hard wire the cord to the fan.
* Because there is too much wind noise with the Panasonic fan running at full speed, I slow the fan down to half speed with a variable transformer. If you decide to slow your fan down, do not use a standard light dimmer to slow it down. A light dimmer won’t keep the electricity at 60 Hz, and it will eventually burn out the fan motor. A variable transformer prevents this.
VocalBooth® is a registered trademark of VocalBooth.com, Inc.


